Blog

If you’ve ever finished a long session with a voice that feels pressed, scratchy or stuck in your throat, this one’s for you. Straw phonation is about as low-tech as voice care gets: you make sound through a drinking straw, sometimes with the end in a glass of water. It looks silly. It’s also one of the most widely used exercises in voice clinics and singing studios. Here’s what it does, which straw to use, a five-minute routine that fits around a recording day, and when you need more than a straw.
What straw phonation actually is
“Phonation” just means making voiced sound. Straw phonation means making that sound through a narrow tube, so the air leaving your mouth meets some resistance on its way out. Voice specialists file it under semi-occluded vocal tract exercises, or SOVT for short: anything that partly closes off the mouth while you’re voicing. Humming, lip trills and buzzing on a V all belong to the same family.
The straw version became famous largely thanks to Ingo Titze, the voice scientist who led the National Center for Voice and Speech at the University of Utah. His instruction video for people who talk all day starts with a line every voice actor will recognise: “For those of you who speak several hours a day and your voice gets tired, here’s a tip to keep you talking.” The next sentence is the whole idea in one breath: “You need to stretch and un-press your vocal folds (vocal cords) often.”
Titze has always been careful to say he didn’t invent it. Singing teachers and voice clinicians in Europe and the United States were using tubes and resonance pipes long before plastic straws were everywhere. What he and others added was the science of why it works.
© The Voice Realm
Why it takes the strain off your voice
When you push air through a straw, pressure builds up in your mouth and throat behind it. That back pressure gently holds your vocal folds a little apart while they vibrate. They still do their job, but they meet each other with much less force than when you’re projecting, pushing through a tired afternoon or squeezing out a big character voice.
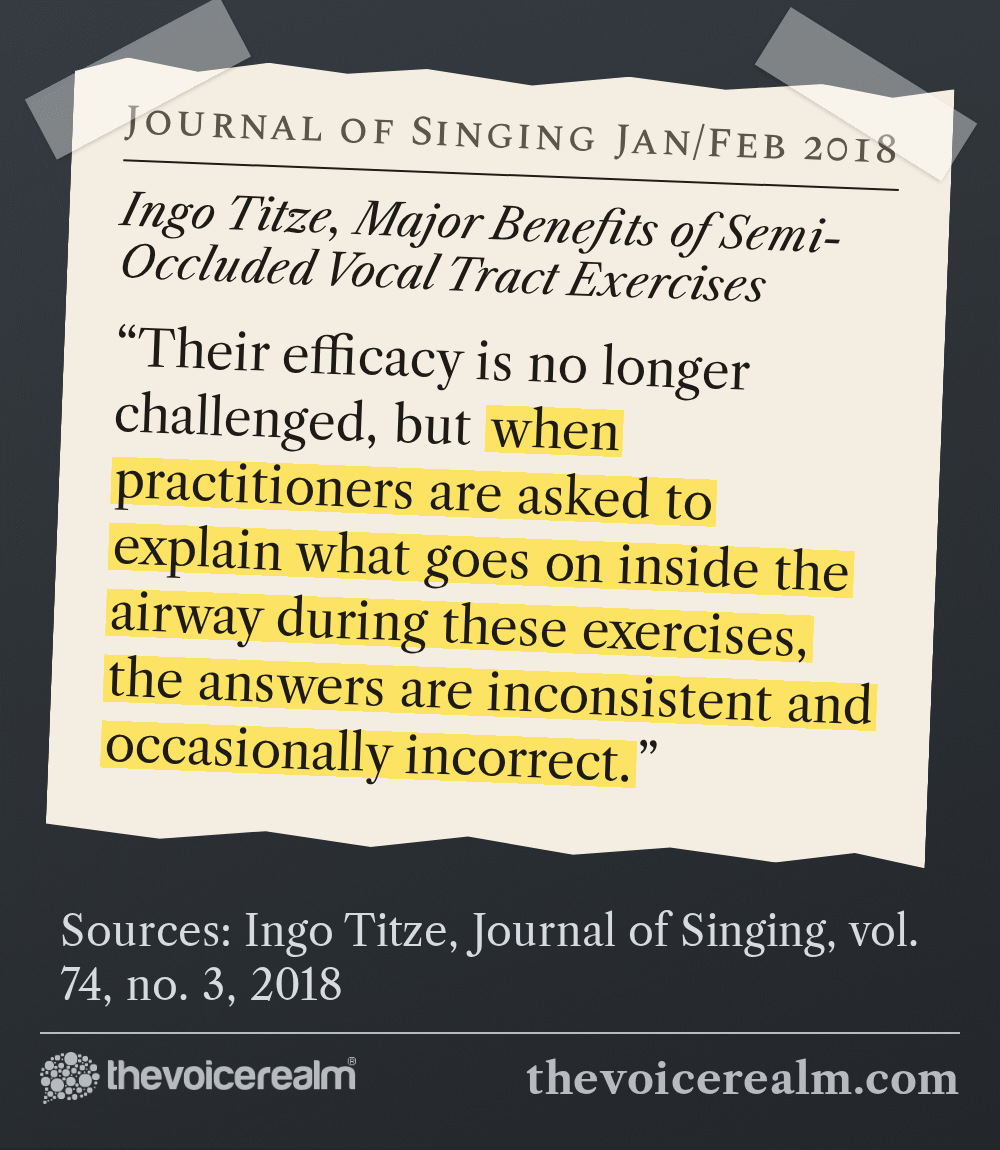
In a 2018 column for the Journal of Singing, Titze listed what happens inside the airway during these exercises. Among them: the effort needed to start the folds vibrating goes down, and the size of the vibration and the force of the folds hitting each other are reduced. The part voice actors will like best is that you don’t have to manage any of it. As he puts it: “The system self-regulates.”
That’s why a few minutes on a straw can leave your voice feeling easier and more forward. You haven’t learned a new technique in five minutes. You’ve simply given the folds a spell of easy, low-impact work, and the muscles around them a reminder of what easy feels like.
© The Voice Realm
Which straw to use
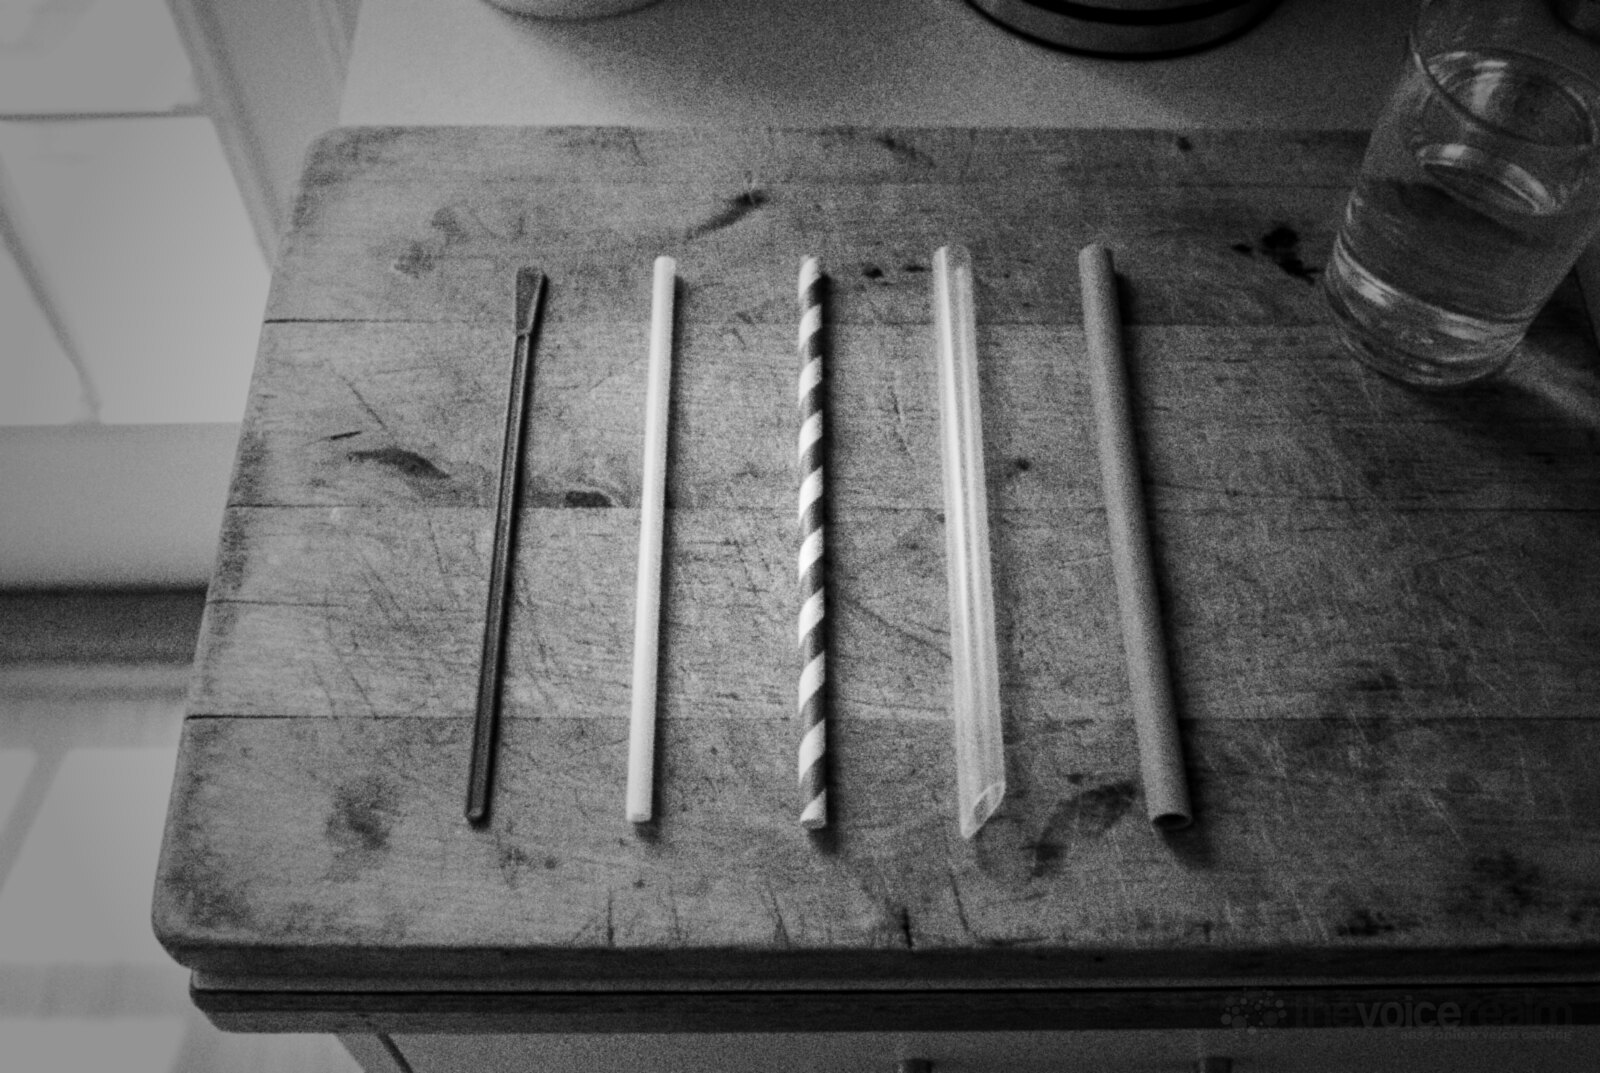
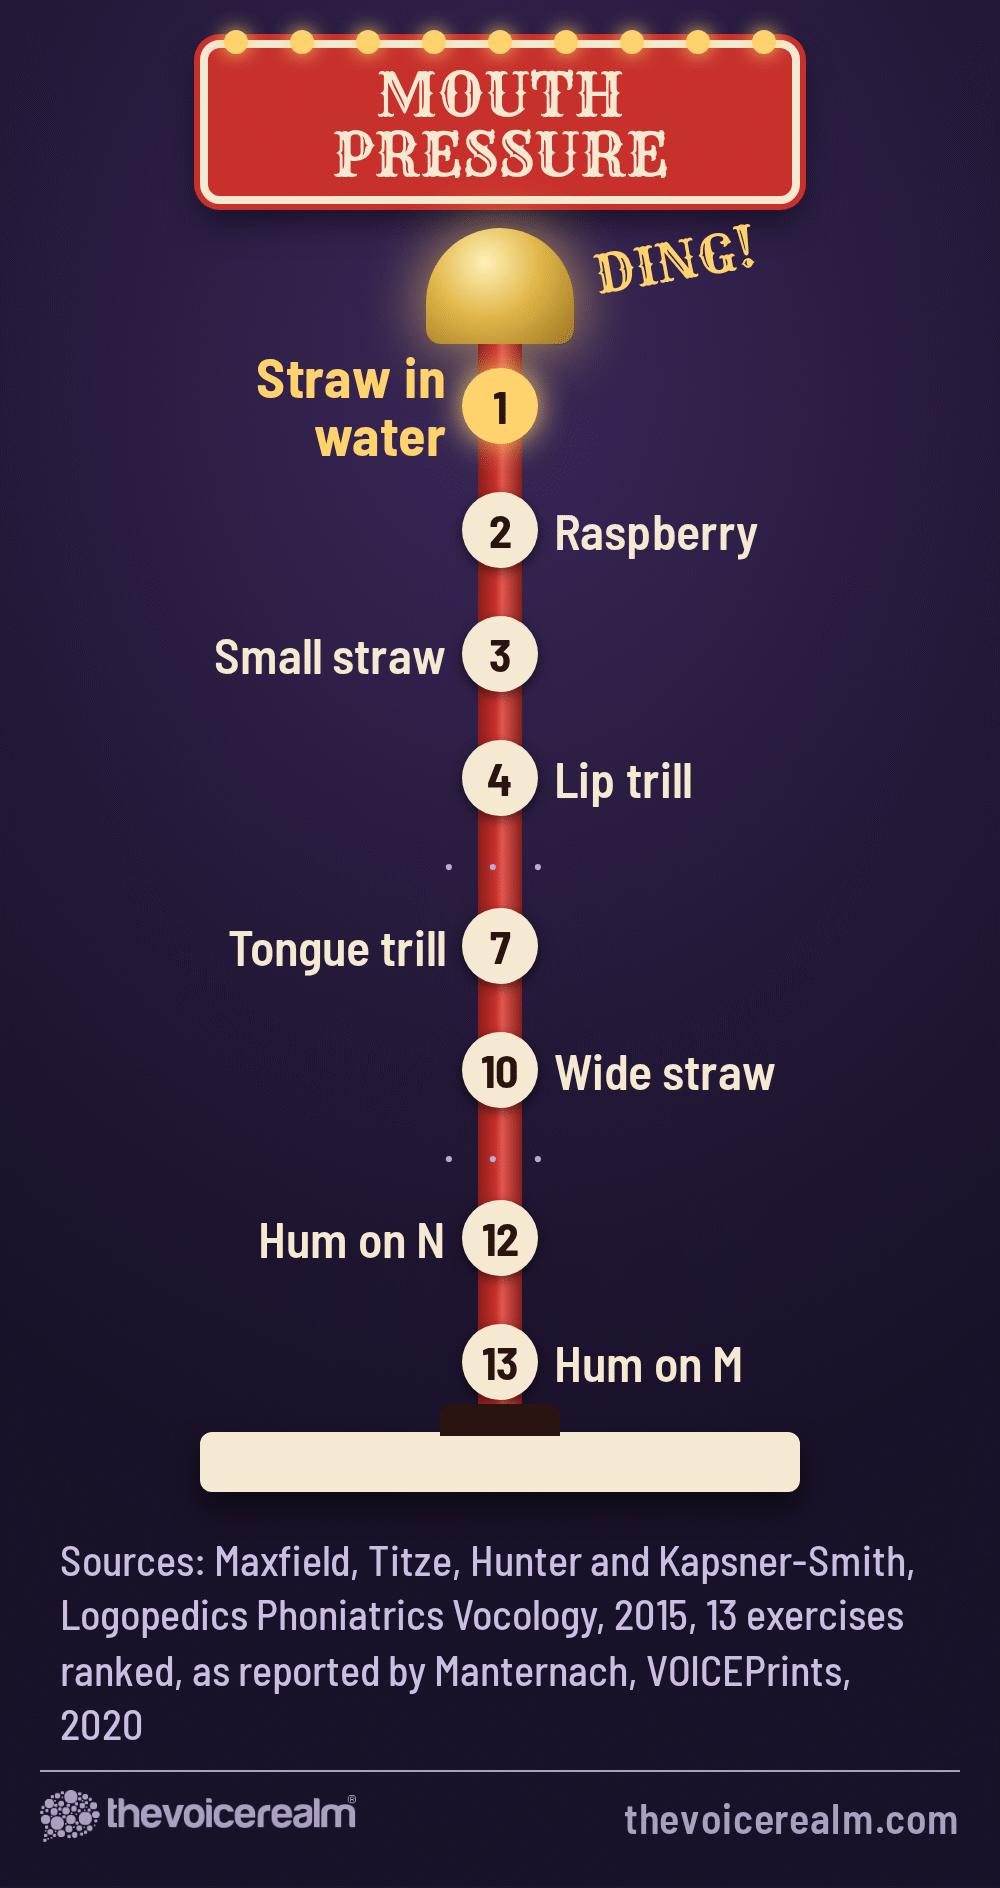
Any straw works, but they don’t all feel the same. The narrower the straw, the more resistance it gives, and the more pressure builds behind it. Titze is clear about which detail matters most: “the diameter is the most critical component. A small diameter produces the greatest flow resistance, and hence the greatest oral pressure.”
Length matters a little, and the material hardly at all. In the same column he says “the material of the straw or tube (plastic versus glass) matters little.” So a paper straw, a plastic one or a reusable silicone one will all do the job, as long as it’s not crushed or split.
Start with an ordinary drinking straw. It gives you a clear sense of resistance without feeling like you’re trying to blow up a balloon. Once that feels easy, try something thinner, like a coffee stirrer, which is what Titze uses in his original video. If a thin straw makes you feel dizzy or bottled up, go back to a wider one. Wide bubble tea straws give very little resistance, so they’re more of a gentle starting point than a workout.
© The Voice Realm
Straw in water: the version you can see working
Put the far end of the straw in a glass of water and the exercise changes in two useful ways. The water adds resistance, and the bubbles show you exactly what your airflow is doing. Brian Manternach, who teaches voice at the University of Utah and is a research associate for the National Center for Voice and Speech, describes the bubbles as a built-in gauge: “more airflow will result in bigger bubbles.”
You can also adjust it without changing straws. Manternach notes that “deeper submersion will result in more pressure and shallower submersion in less pressure.” Start with the straw just a few centimetres under the surface.
 VOICEMASTERACADEMYTwenty modules, one at a time.Breath controlHome studioCommercial techniqueAuditionsStart module oneNo experience needed.
Cambridge University Hospitals, part of the NHS, gives its patients a simple set-up. “Half fill a cup with room temperature water.” Hold it level with your chest, bend the straw towards you, and “Do not rest the straw on the bottom of the cup.” Then blow gentle bubbles before adding any voice. A bendy straw lets you keep your head level instead of craning down to the glass, which matters more than it sounds, because a bent neck is a tense neck.
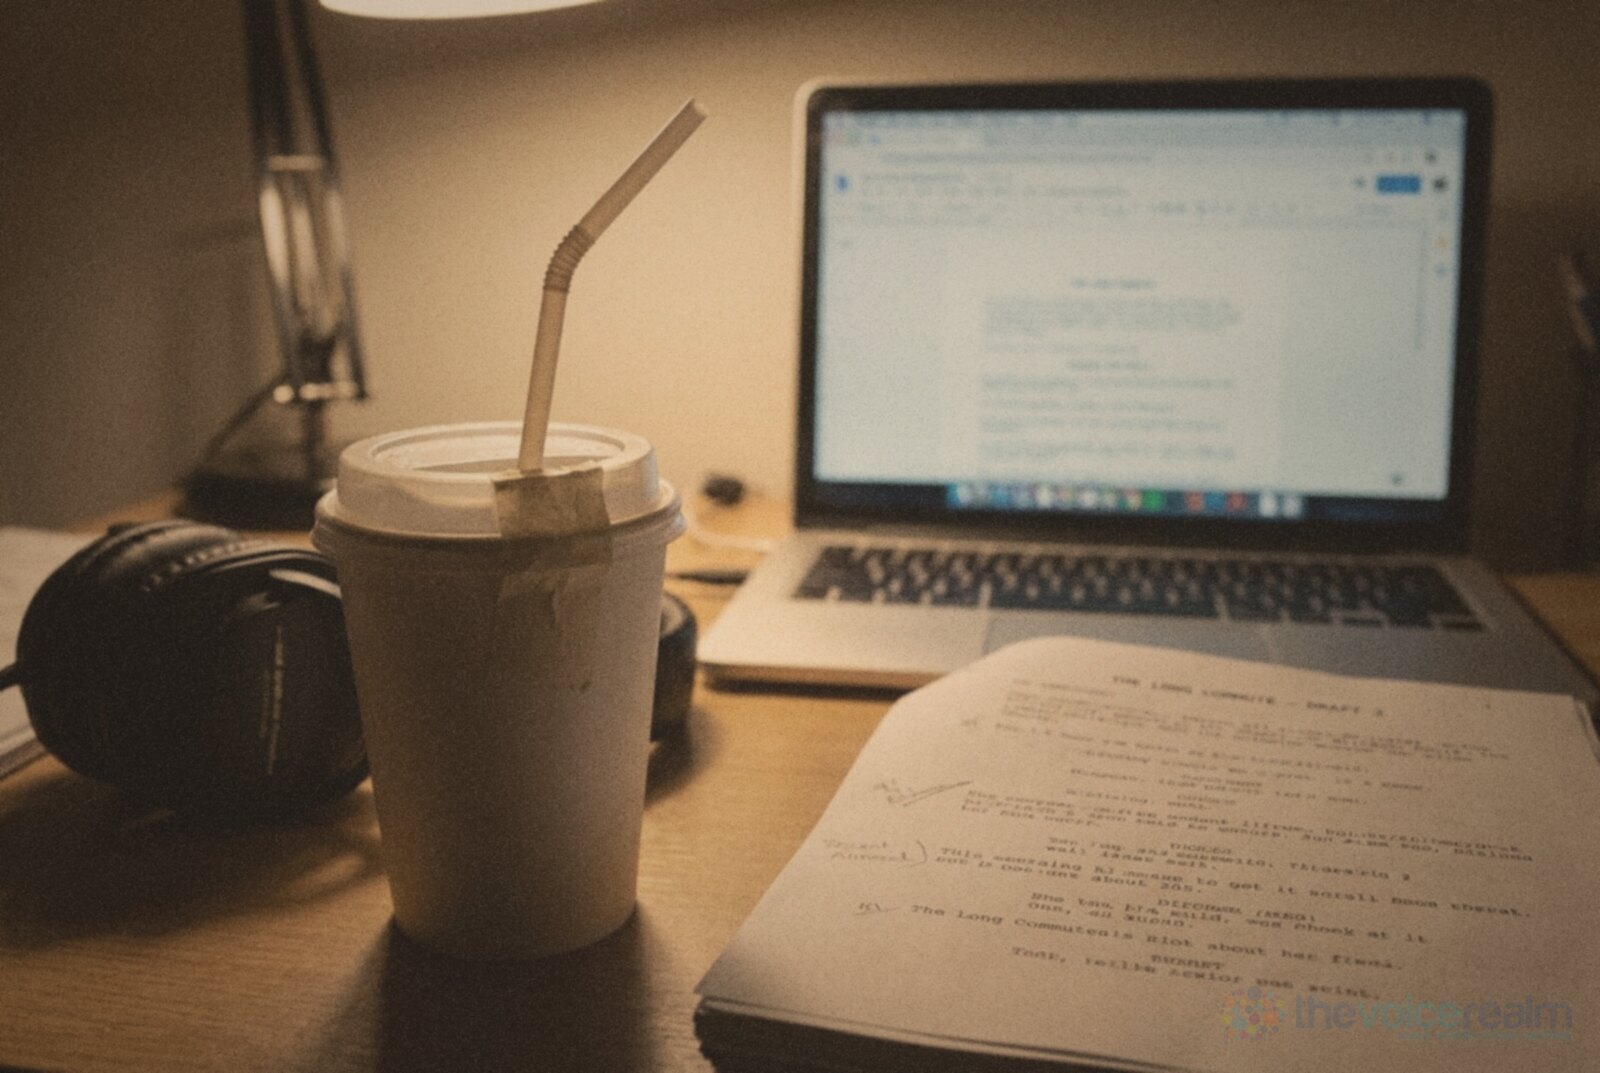
One practical tip for anyone working at a desk: Manternach suggests a cup with a lid to stop the splashing, with tape wrapped round the straw where it meets the lid. A takeaway cup does the job nicely and won’t flood your script.
© The Voice Realm
A five-minute routine for your recording day
This builds from the NHS handout and Titze’s video, kept short enough to do between sessions. Use a normal straw on its own, or the straw in water if you have a glass handy.
1. Air only. Seal your lips round the straw and blow gently for a few breaths, no voice. Feel your belly doing the work, not your neck or shoulders.
2. One easy note. Add voice on a comfortable “oo” at your speaking pitch and hold it steady, about ten times. Titze gives two checks here: “It is important that no air escapes around the straw between your lips, and that no air escapes through your nose. If you pinch your nose, the sound should not change.”
3. Slides. Glide slowly from the bottom of your range to the top and back down, like a siren. Don’t chase notes that hurt. The NHS handout says it plainly: “There should be no strain in your neck.”
4. Hills. Make little swells in pitch and loudness, the way a line naturally rises and falls. Titze calls these accents, and he wants them driven from the belly, not the throat.
5. Your actual script. Read a few lines of today’s copy through the straw, keeping all the shape and meaning but none of the push. Then, as the NHS suggests, slowly take the straw away while keeping the sound and airflow going, and read the same lines out loud.
“You will find that your voice seems to be coming out of your eyes instead of your throat.”
Ingo Titze, on what straw work should leave you withPost this quote
That last step is the one that pays off at the mic. The sensation Titze describes, a voice that feels forward and easy, is the one you’re trying to carry into the booth. If you lose it halfway through a session, he says to “take the first opportunity to reset your voice with the straw.”
How often, and where it fits in a session
Little and often beats one long session. The Cambridge NHS handout recommends that patients “aim for five minutes practice three to five times per day,” and adds that the exercises can double as a warm-up, a cool down or a reset when you feel tension creeping in.
For a working voice actor, that maps nicely onto a recording day. Do a round before your first take as part of your usual warm-up. Do another whenever you finish a long stretch, such as a big e-learning module, an hour of audiobook narration or a session of shouting for a game. And do one at the end of the day as part of winding your voice down, so you’re not carrying the day’s tension to bed.
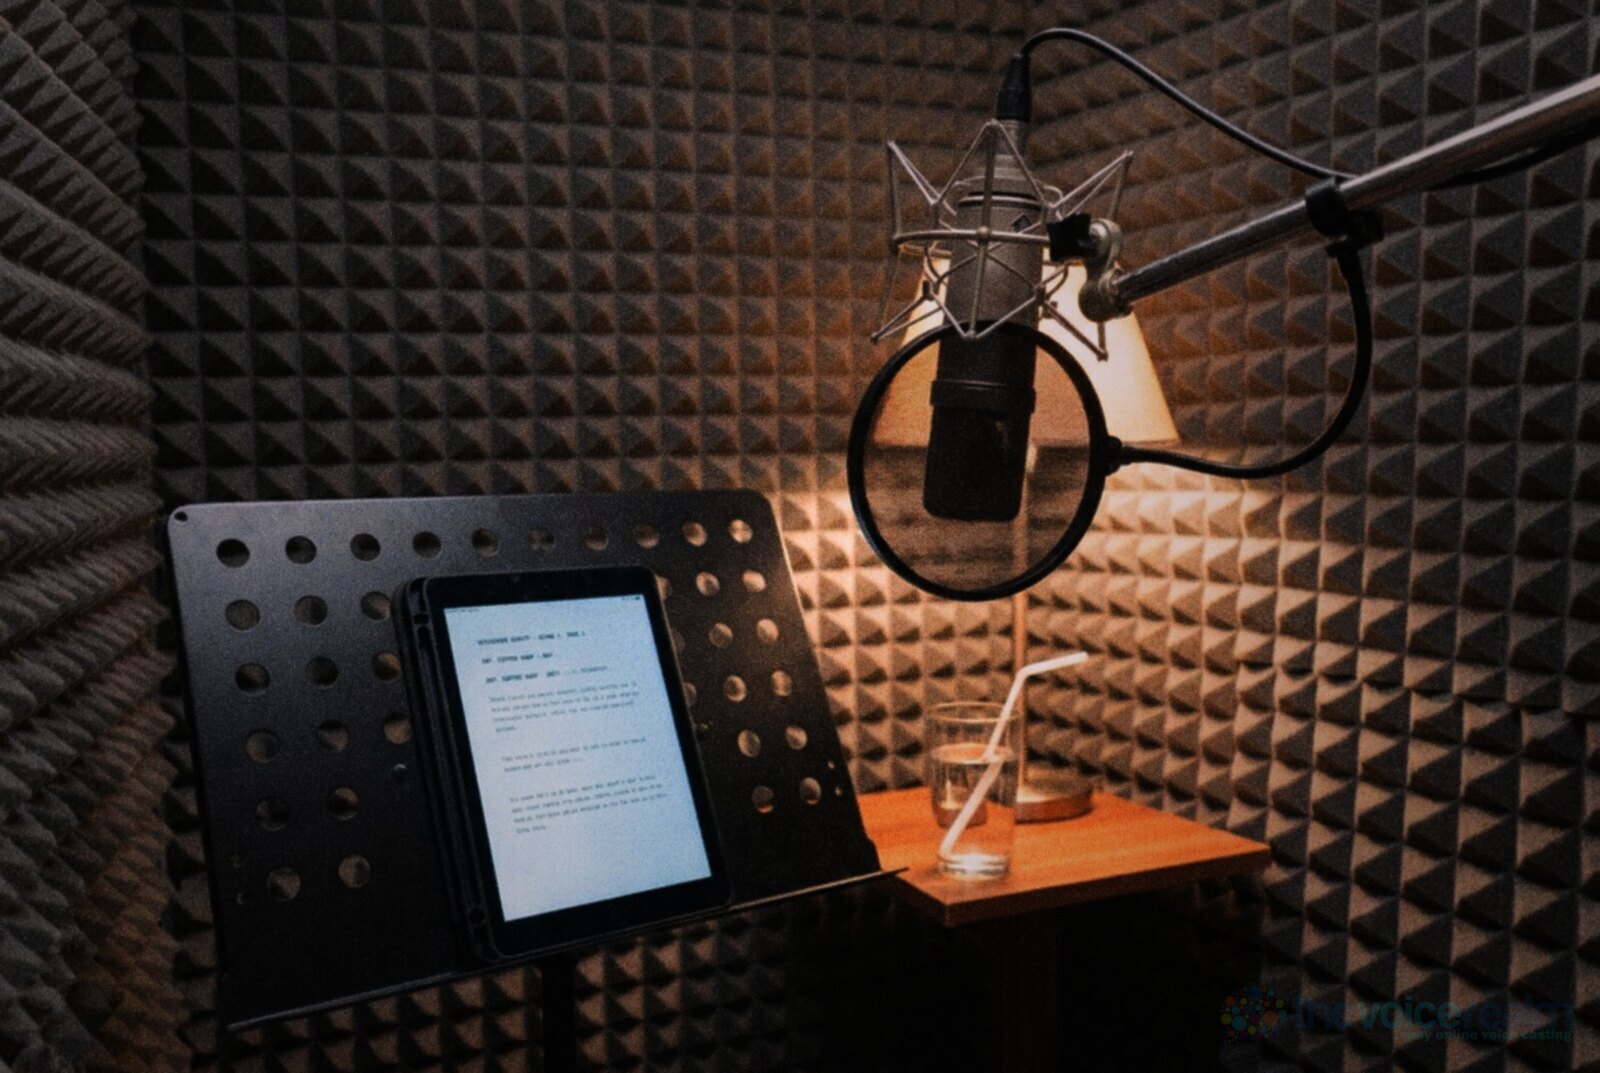
Keep a straw by the mic. It costs nothing, takes up no space, and it’s easier to reach for a straw than to remember a routine.
Don’t expect every version to suit you. As Manternach writes, “there is no ‘one size fits all’ when it comes to SOVT exercises.” Try a couple of straw widths and water depths over a week and keep the one that leaves your voice feeling best.
© The Voice Realm
When a straw isn’t the answer
Straw work is a great habit for a healthy voice. It isn’t a treatment you should run on your own for a voice that’s struggling. If you’re hoarse for more than a short spell, if it hurts to talk, if your range has suddenly shrunk or your voice keeps cutting out, stop the exercises and get it looked at by a doctor or a voice clinic.
Many of the problems voice actors run into, from nodules to tension-related voice problems, are treated by speech and language therapists who use straws and similar exercises as part of a proper plan. Titze ends his own video with the same advice: “If you have further questions or vocal problems, contact a speech-language pathologist specializing in voice.”
For everyone else, it’s one of the cheapest bits of kit you’ll ever own. Keep one in your studio, one in your bag and one in the car, and give your voice five easy minutes before you ask it for five hard hours.
Sources: Ingo R. Titze, “Introducing a Video for Using Straw Phonation”, Journal of Singing, May/June 2010. Ingo R. Titze, “Major Benefits of Semi-Occluded Vocal Tract Exercises”, Journal of Singing, January/February 2018. Brian Manternach, “Straw in Water: A Low Spit Factor Alternative to Lip Trills and Raspberries”, VOICEPrints, New York Singing Teachers’ Association, May/June 2020. Cambridge University Hospitals NHS Foundation Trust, “Semi occluded vocal tract exercises”. National Center for Voice and Speech, “Vocal Straw Exercise”.
Ready to get booked?
See the jobs open right nowAbout Sarah Robbins
Sarah Robbins writes for The Voice Realm about finding voice over work, home studios, casting and the business side of voice acting.