Blog
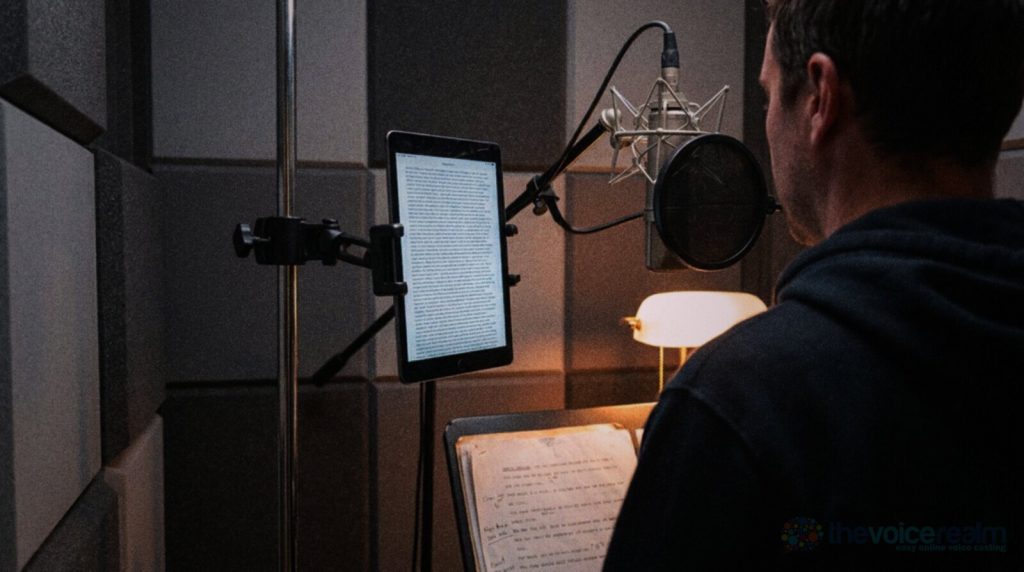
This guide is for voice actors who record and edit at home, and especially for anyone who’s had a file come back with a note about “spacing” or a gap that “sounds like the line dropped.” The fix is a few seconds of audio most people never think to record: the sound of your room when you’re not talking. It’s called room tone, and once you start keeping it, a lot of editing problems quietly go away.
Below is what room tone is, why editors and audiobook platforms ask for it, how to record it properly in a spare room or a booth, and how to use it to patch cuts and train your noise reduction.
Silence on a recording is never silent
Put on headphones, arm a track, sit still and record thirty seconds of nothing. Then turn the playback up. You’ll hear something: a faint hiss from the mic and preamp, the low rumble of traffic two streets away, the fridge in the kitchen, the air moving in the heating vents, the slightly different hum your room makes compared with every other room on earth.
That bed of sound is room tone. It sits under every word you record, all the way through the take. Listeners never notice it while it’s there. They notice instantly when it disappears.
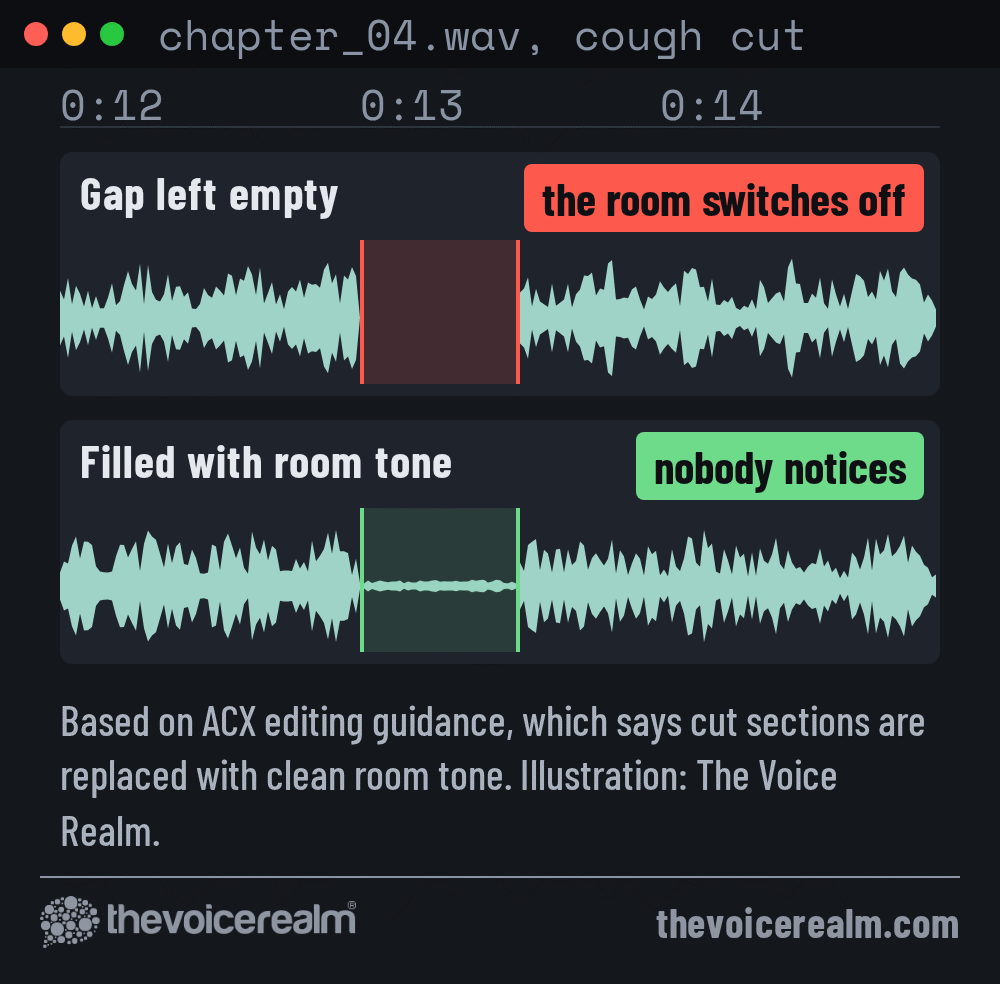
And it disappears more often than you’d think. Every time you cut out a breath, a stumble, a cough or a page turn and leave the gap empty, the editor fills it with digital silence, a true zero that no real room produces. For a fraction of a second the whole world switches off, then snaps back on when you start talking again. On good headphones it sounds like a phone call cutting out. On a podcast or an audiobook, where people listen closely for hours, it’s the kind of thing that makes a recording feel cheap without the listener being able to say why.
Room tone is the cure. It’s a clean recording of your room’s own background, made with the same mic, in the same spot, with the same settings, so you can paste it anywhere you need a pause that sounds like a pause.
© The Voice Realm
Why film crews freeze for thirty seconds
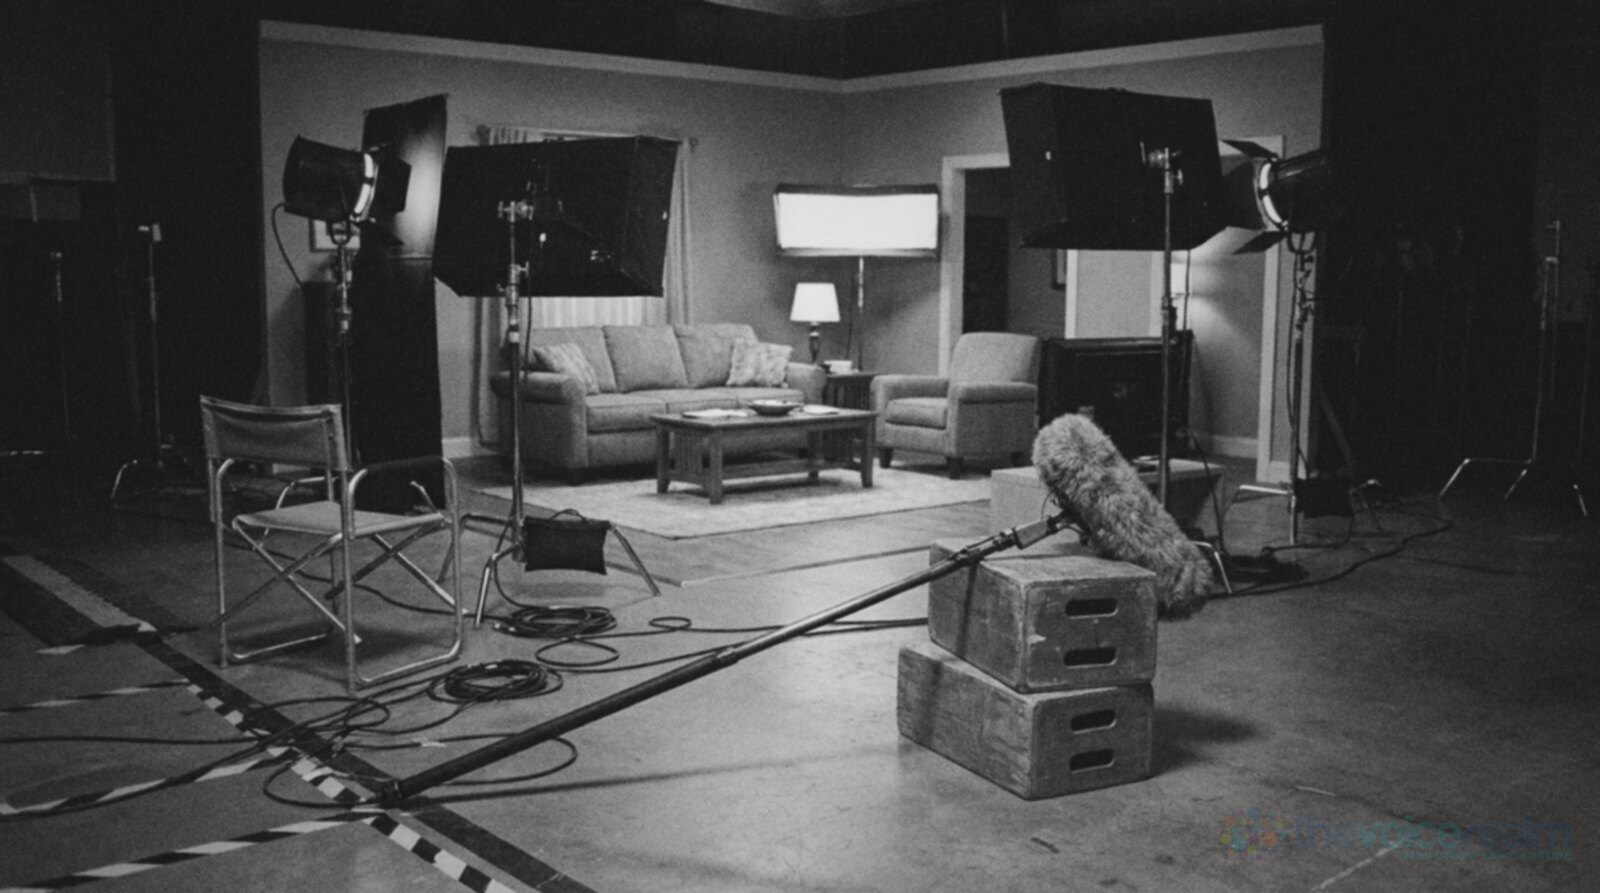
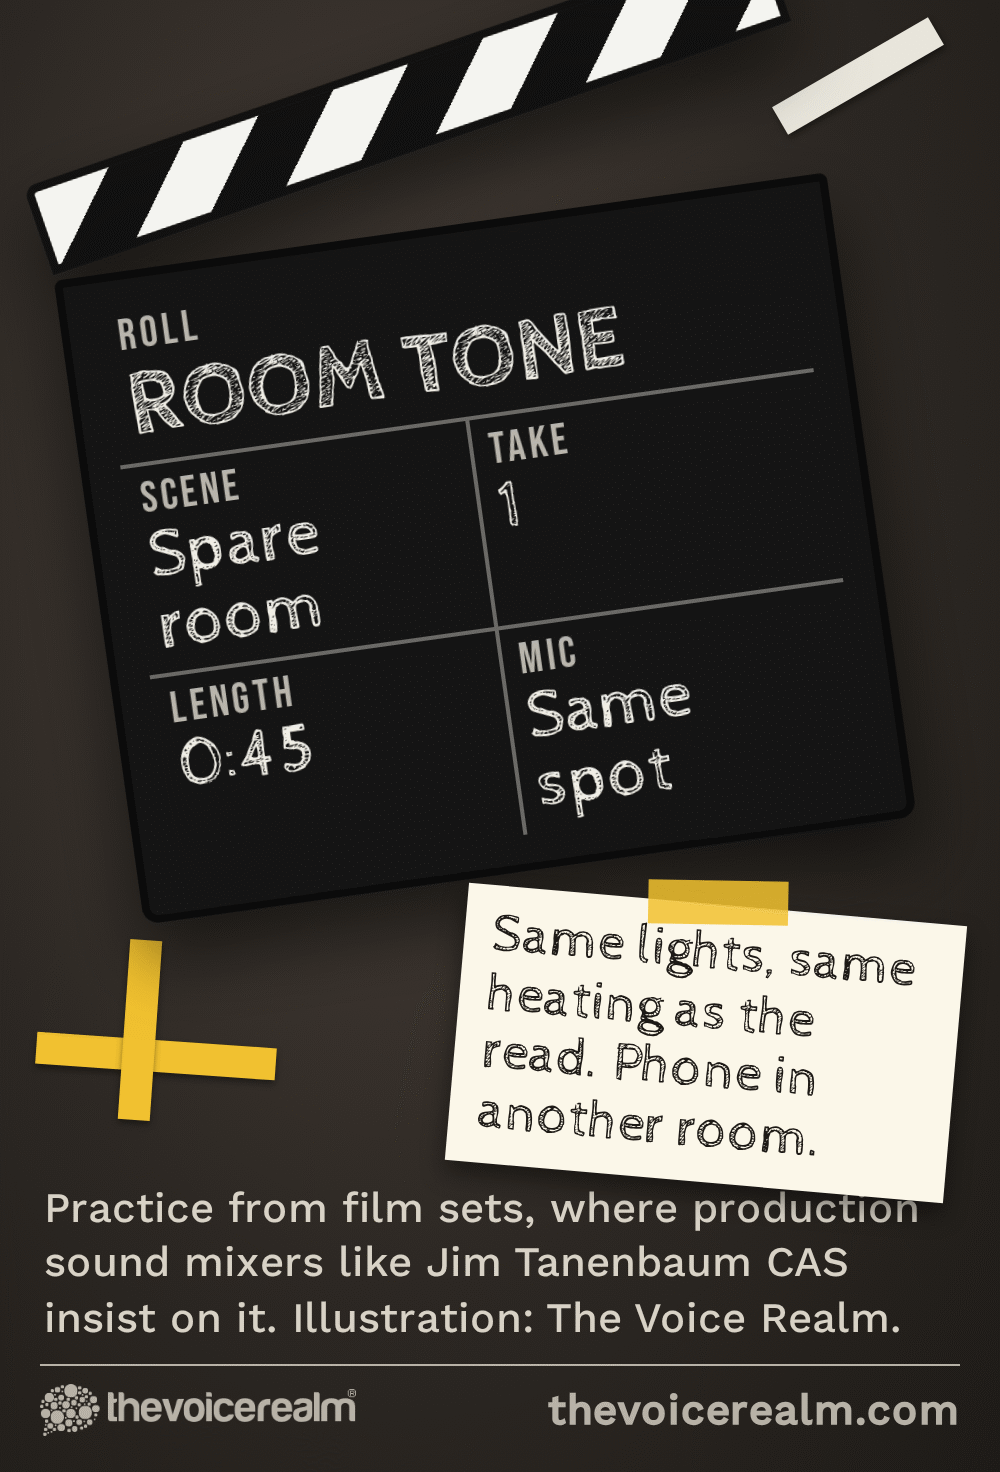
If you’ve ever been on a film set, you’ve probably heard someone call for room tone. Everyone stops where they are. Nobody talks, nobody shuffles, the lights stay on, and the sound mixer records the set doing nothing at all. It feels a little ridiculous the first time. It’s also one of the most useful things a sound crew records all day.
The reason is editing. A scene is built from many takes and angles, and every cut between them is a chance for the background to jump. Dialogue editors use the room tone to smooth those joins and to sit underneath any line that gets replaced later in an ADR session, so a line recorded months afterwards in a studio still sounds like it belongs in the room.
Jim Tanenbaum CAS, a veteran production sound mixer, makes the case in the magazine of IATSE Local 695, the union local for production sound crews. He writes that “it is still important to fight for room tone and wild lines, recorded with the mike in the position used for the master.” And he warns against putting it off: “Resist the 1st AD saying: “We’ll get it later,” because later never comes, or if it does, the birds have stopped or the frogs have started.”
That last line is the whole lesson for a home studio, too. Room tone only works if it matches the recording it’s patching. The same room an hour later, with the heating on or the neighbour’s washing machine running, is a different room.
© The Voice Realm
What audiobook files have to carry
Audiobook narrators meet room tone first as a rule. ACX, the audiobook production platform run by Audible, checks the spacing at the start and end of every uploaded file. Since December 2021, its blog says, “all files must have no more than 5 seconds of “room tone,” or spacing, at their beginning and end.” Its automated Audio Analysis tool checks this as you upload.
The important word there is room tone, not silence. A chapter that starts with a hard digital zero and then jumps into your room’s background sounds wrong in the same way an empty cut does. ACX’s own editing advice, from the series it published as Alex the Audio Scientist, says “The easiest way to follow this requirement is to paste in the appropriate amount of clean room tone at the head and tail of each file.”
The same post describes the editing step itself: “When appropriate, portions of the recording that are edited out are replaced with clean room tone.” So the platform expects room tone in two places: at the edges of every file, and in every gap you’ve cut.
If you’re working toward your first book, our guide to becoming an audiobook narrator covers the rest of the technical bar and what the work really involves.
Recording room tone in a home studio
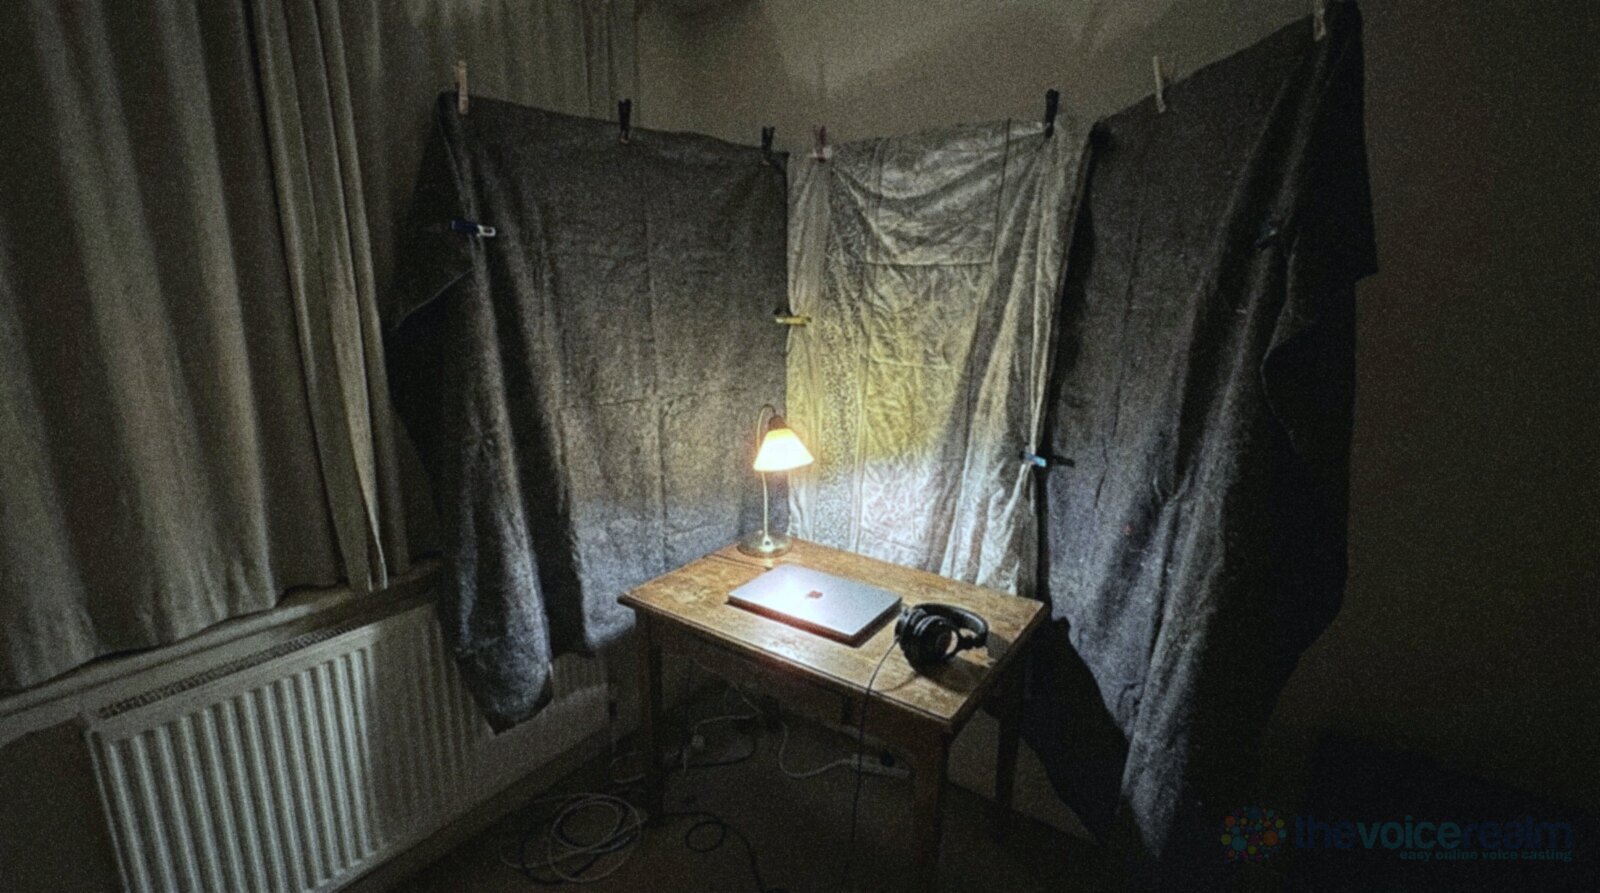
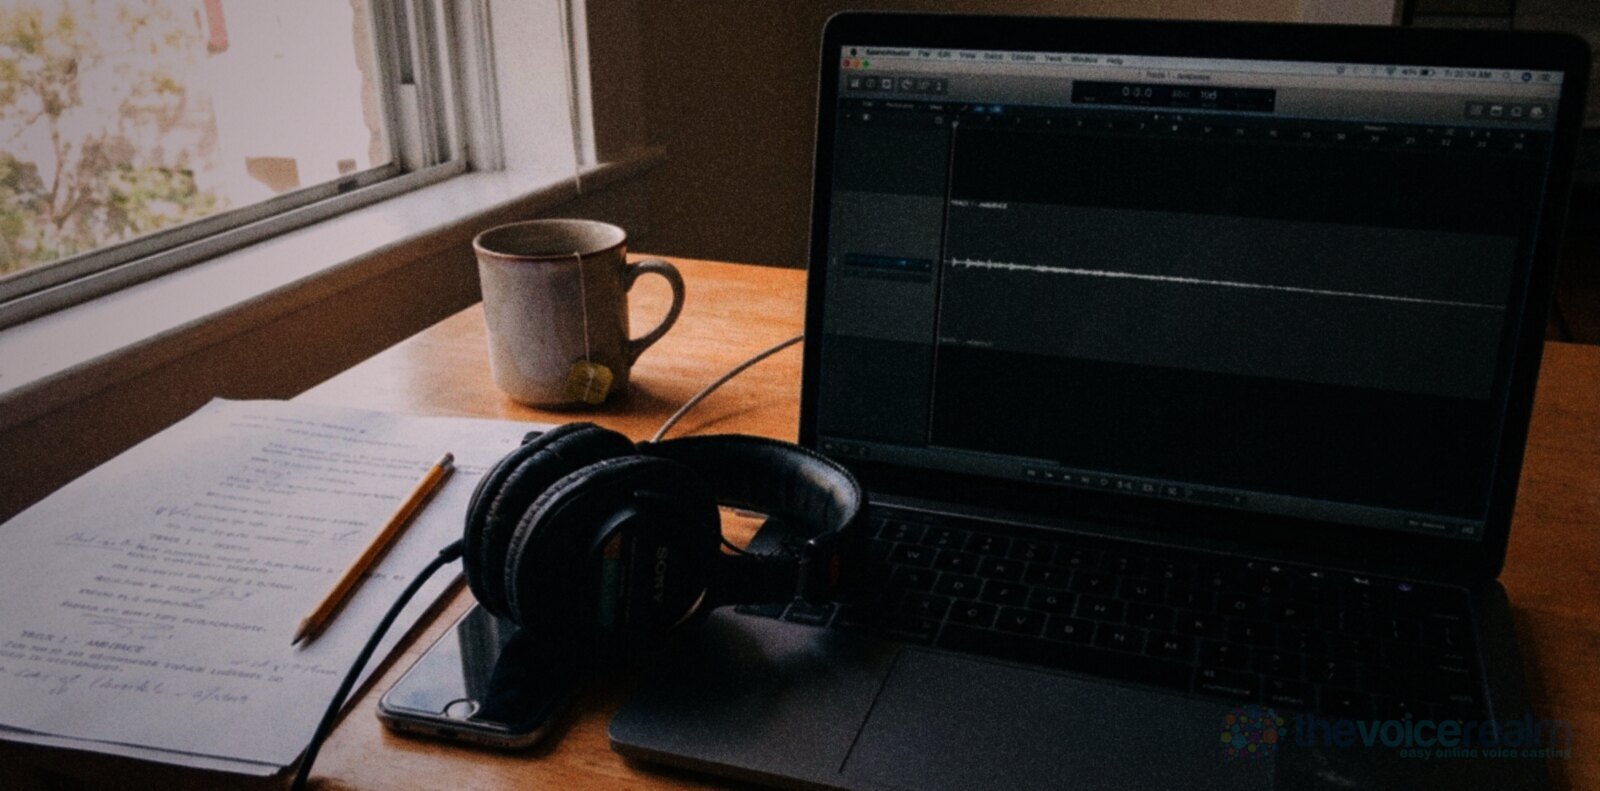
On a film set the room tone is recorded at the end of the scene. At home, record it at the start of every session, before your first line, and again after any break. It takes under a minute and it saves you hunting for usable gaps later.
The trick is to record your room exactly as it was during the read. Not quieter, not cleaner. If you turn off the heating just for the room tone and leave it on while you’re talking, your patch won’t match, and the edit will jump the other way.
- Leave everything as it was for the read. Same mic position, same distance, same gain, same pop filter, same lights and same heating or air conditioning.
- Get into your reading position, then freeze. Sit or stand where you’ll be, so your body absorbs and reflects sound the way it will when you’re talking. Breathe gently through your nose.
- Keep still for the whole take. No chair creaks, no clothing rustles, no script pages. Put your phone in another room so a buzz doesn’t land in the middle.
- Record 30 to 60 seconds. More than you think you need, so you never have to loop a short piece.
- Name it and keep it with the session. A clip called roomtone_session_date sits next to your takes, so you never patch with tone from another day.
That freeze matters more than people expect. You’re part of the room. Your body soaks up some reflections and your clothes make tiny sounds, so tone recorded while you’re standing in another corner won’t quite match tone recorded with you in front of the mic.
Listen back on headphones at a high volume before you go on. If you hear a car door, a dog, a stomach rumble or a page, record it again. The whole point of room tone is that it’s clean. As ACX’s editing post puts it, “Make sure you have clean room tone. If you don’t, you could be creating more problems than you’re solving.”
© The Voice Realm
How long, and how often
Thirty seconds is a sensible minimum and a full minute is better. Short room tone has to be looped to fill longer gaps, and a loop of a fraction of a second can turn into an audible pattern, a faint flutter that repeats. A longer clip gives you different stretches to pull from, so no two patches sound identical.
 VOICEMASTERACADEMYTwenty modules, one at a time.Breath controlHome studioCommercial techniqueAuditionsStart module oneNo experience needed.
How often is simpler: every time something changes. ACX’s advice is to “Record new room tone any time you change your microphone or studio settings. The old room tone may not match the sound of the new recording you are applying it to.”
In practice, “settings” covers more than gear. Record fresh room tone when:
- you start a new session, even in the same room on the same day
- you move the mic, change the gain or swap a cable or interface
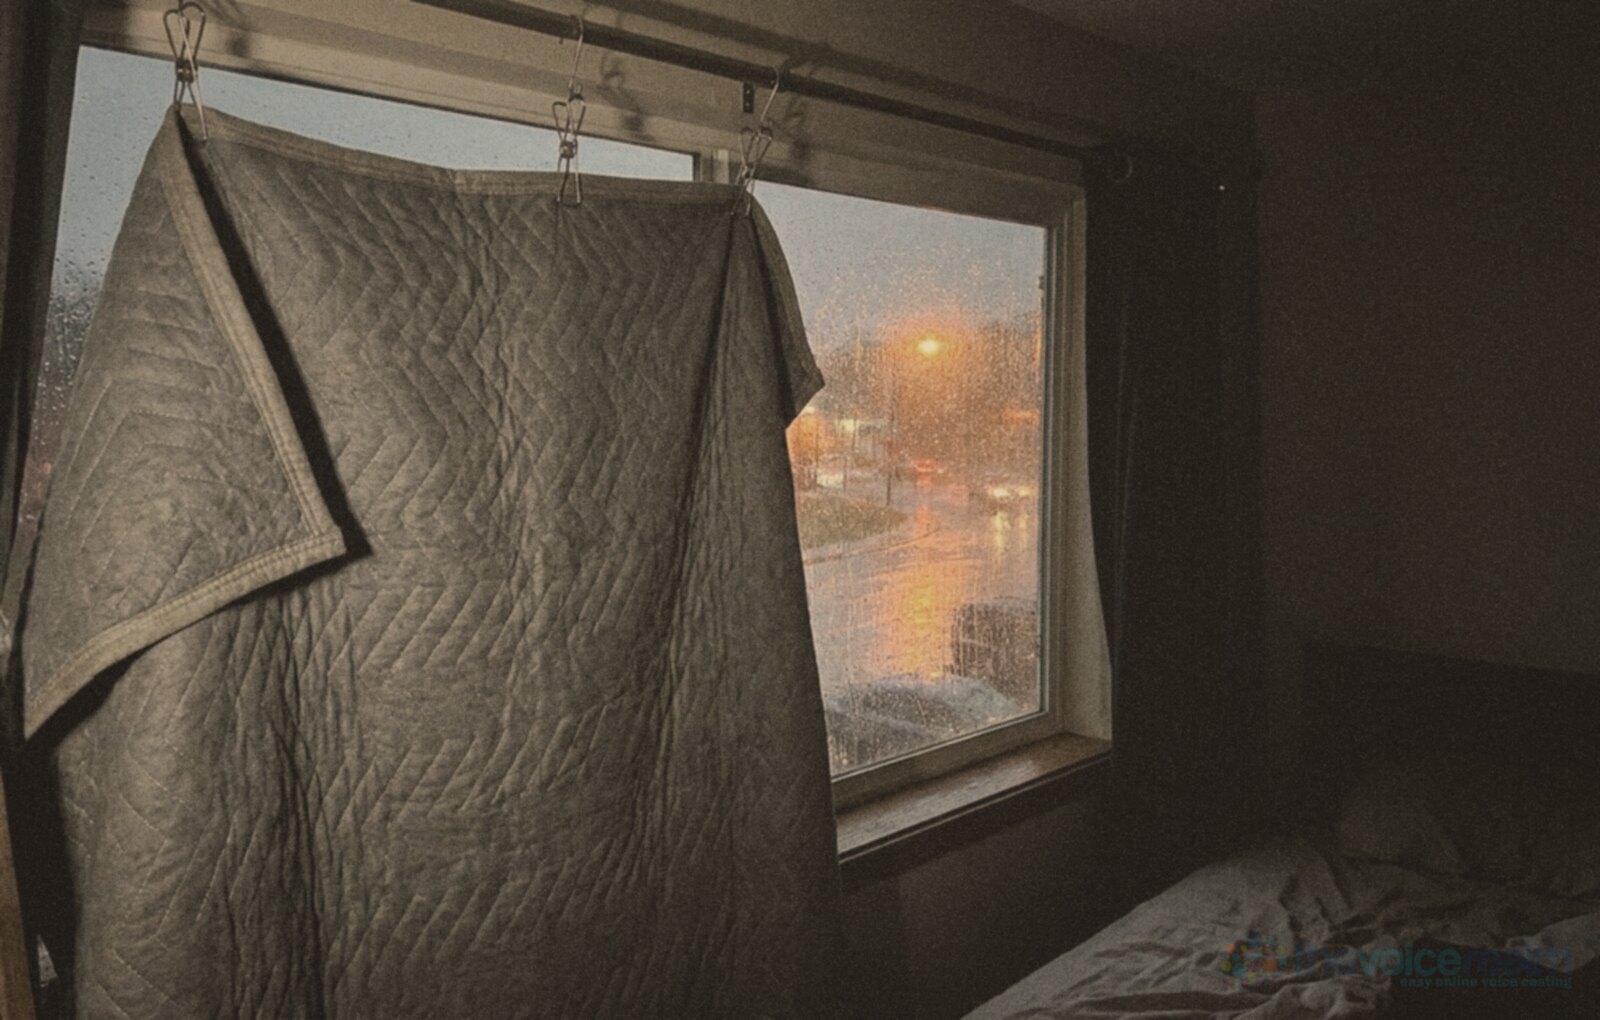
- the weather turns, because rain on the window and wind on the walls change the background
- the building changes around you: heating kicks in, traffic builds up at rush hour, the neighbours come home
Pickup sessions are where this really pays off. When a client asks for three corrected lines a fortnight after the job, you’ll need room tone from the new session as well as the old one so you can blend the joins. Our piece on matching pickups weeks later goes through that whole process.
© The Voice Realm
Filling the gaps nobody should hear
Once you have clean room tone, using it is quick. When you cut a mistake, a mouth click or an over-long pause, don’t just leave the hole. Copy a stretch of room tone that’s a little longer than the gap, paste it in, and trim it to fit.
A few habits make the patches invisible:
Crossfade both ends. A very short fade, a few milliseconds, where the room tone meets your voice stops any click at the edit point. Most editors can apply this automatically to every cut.
Keep the natural pause length. Room tone is for sounding right, not for stretching. If you replace a cough with a long patch of tone, you’ll hear the rhythm sag even if the background is perfect. Match the pause to the pace of the read around it.
Don’t patch breaths unless the client asks. Natural breaths between phrases are part of a human read. Many narrators lower loud breaths rather than replacing them, so the read doesn’t sound like the speaker stopped breathing.
Use it for head and tail spacing. Every finished file should open and close on room tone, not on a digital zero. That’s the ACX rule for audiobooks, and it’s good manners for any client file too.
If you’re still finding your way around a clean edit, our article on the pass order for editing your own voice over shows where room tone fits among the other jobs, from cutting mistakes to final loudness.
© The Voice Realm
Teaching your noise reduction what to remove
Room tone has a second job that’s just as useful: it’s the perfect sample for noise reduction. Most noise reduction tools work by learning what your background sounds like on its own, then subtracting that from the whole recording.
The help pages for iZotope RX describe the process plainly. Its Spectral De-noise module “is designed to remove stationary or slowly changing tonal noise and broadband hiss by learning a profile of the offending noise and then subtracting it from the signal.” To teach it, the guide says to “Make a selection of the longest section of noise you can find in your file (ideally a few seconds in length).”
That’s exactly what a dedicated room tone take gives you: several seconds of your background with nothing else in it. Without one, you end up grabbing the tiny pauses between sentences, which often include the tail of a word or a breath, and the tool learns to remove a little of your voice as well.
There’s a limit worth knowing. The same help page notes that “Manually learned noise profiles are best suited to removing or reducing noise that is constant and continuous throughout the duration of the file.” A steady fan or computer hum is a good target. A dog bark or a passing truck isn’t, and no amount of learning will fix it. For those, you either cut and patch with room tone or record the line again.
Go gently. Heavy noise reduction makes a voice sound watery and metallic, which clients notice faster than a little hiss. If you’re reaching for big reductions, the background is too loud, and the better fix is in the room. Our guide to tracking down background noise helps you find the source, and Voice Edit Suite’s free Home Studio Analysis measures your room before and after you change anything, so you can see whether the fix worked.
The mistakes that give you away
Most room tone problems come from the same handful of habits. Here’s what to watch for.
Generating silence instead of recording it. Every editor has a “generate silence” button. It’s useful for many things, but filling a cut in voice audio isn’t one of them. Digital silence is the very thing room tone is meant to replace.
Using tone from a different day. Yesterday’s room tone was made in yesterday’s room. The heating, the traffic and even your gain setting might have changed. Record fresh tone every session and keep it with the takes.
Recording a “better” room than the one you read in. Switching off the fan just for the room tone means your patches will be quieter than the background under your voice. The ear hears the drop at every cut.
Processing the tone separately. If you apply EQ, compression or noise reduction to your voice track, the room tone you paste in has to go through the same chain. The simplest way is to patch the gaps first and process the whole track afterwards.
Looping a tiny clip. A half-second of tone repeated twenty times can produce a faint rhythmic pulse. Record a long take and pull different sections from it.
None of this is hard. It’s the kind of small, unglamorous habit that separates a file a client can drop straight into a project from one that needs fixing first, and producers remember which actors send which kind. Next time you sit down to record, give your room forty-five seconds of your undivided silence before you say a word. Your editing will thank you, and so will whoever hires you next from the voice over jobs board.
Sources: ACX blog, “Turn Up the Feedback: ACX Audio Analysis Now Checks Spacing” and “Editing and Spacing with Alex the Audio Scientist”; Jim Tanenbaum CAS, IATSE Local 695 magazine, “My Godlike Reputation Part 3”; iZotope, “Spectral De-noise”, RX 9 help.
Ready to get booked?
See the jobs open right nowAbout Sarah Robbins
Sarah Robbins writes for The Voice Realm about finding voice over work, home studios, casting and the business side of voice acting.