Blog
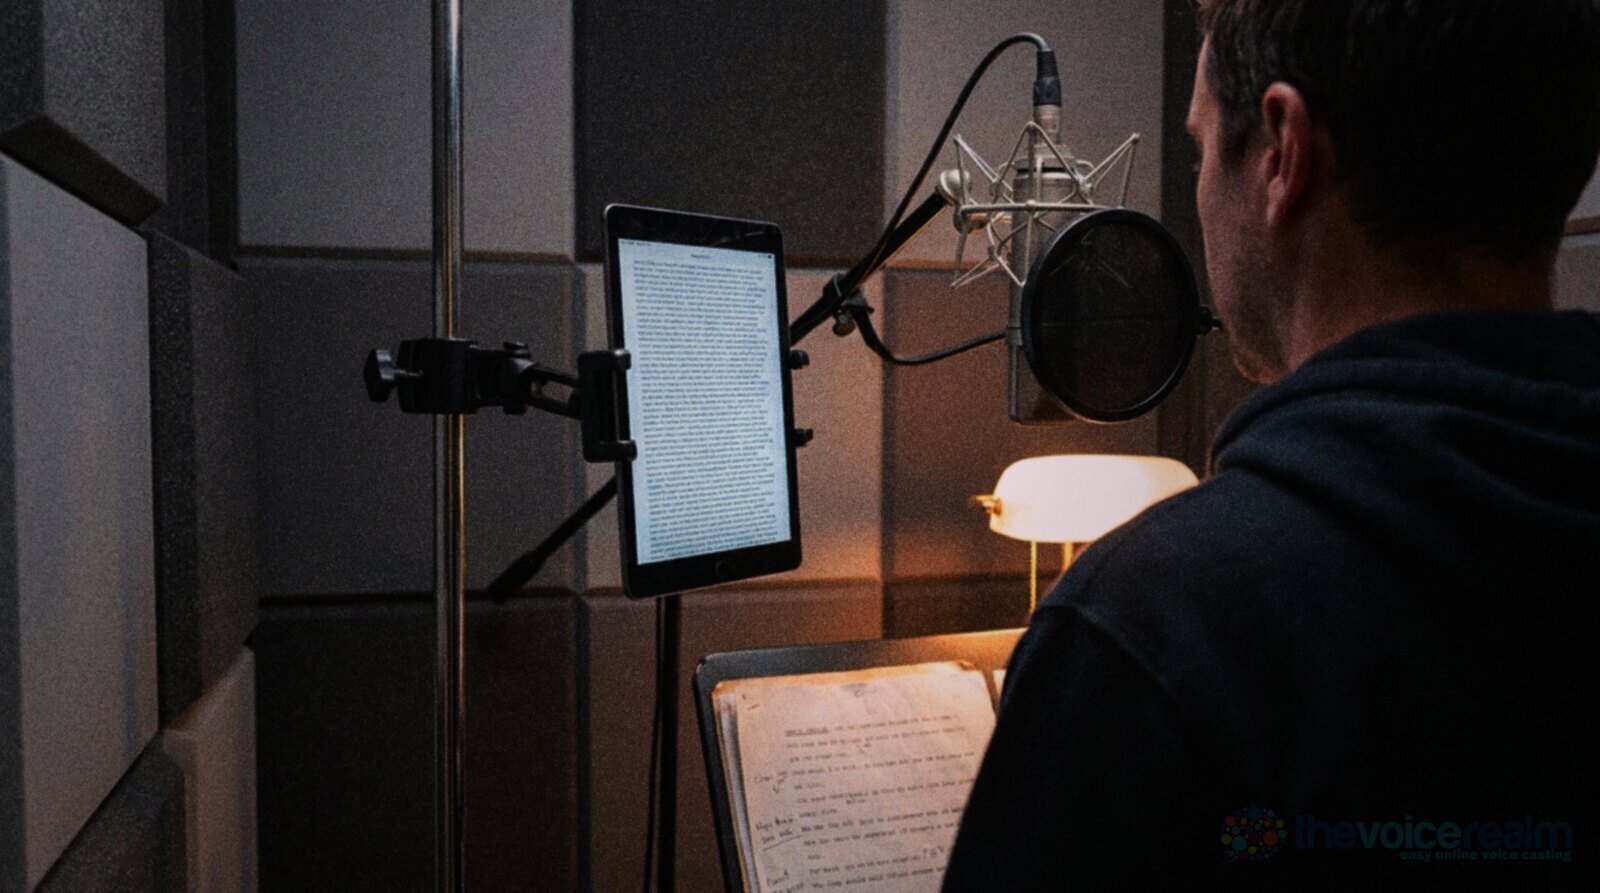
If you still read your scripts off printed pages, or you’ve tried a tablet and found it fiddly, this guide is for you. Moving to a screen is one of the cheapest upgrades a home studio can get. Done well, it kills page noise, saves your back and makes long reads easier. Done badly, it adds a buzzing notification in the middle of your best take. Here’s how to mount it, angle it, set it up and read from it like you’ve been doing it for years.
Why paper loses in a quiet booth
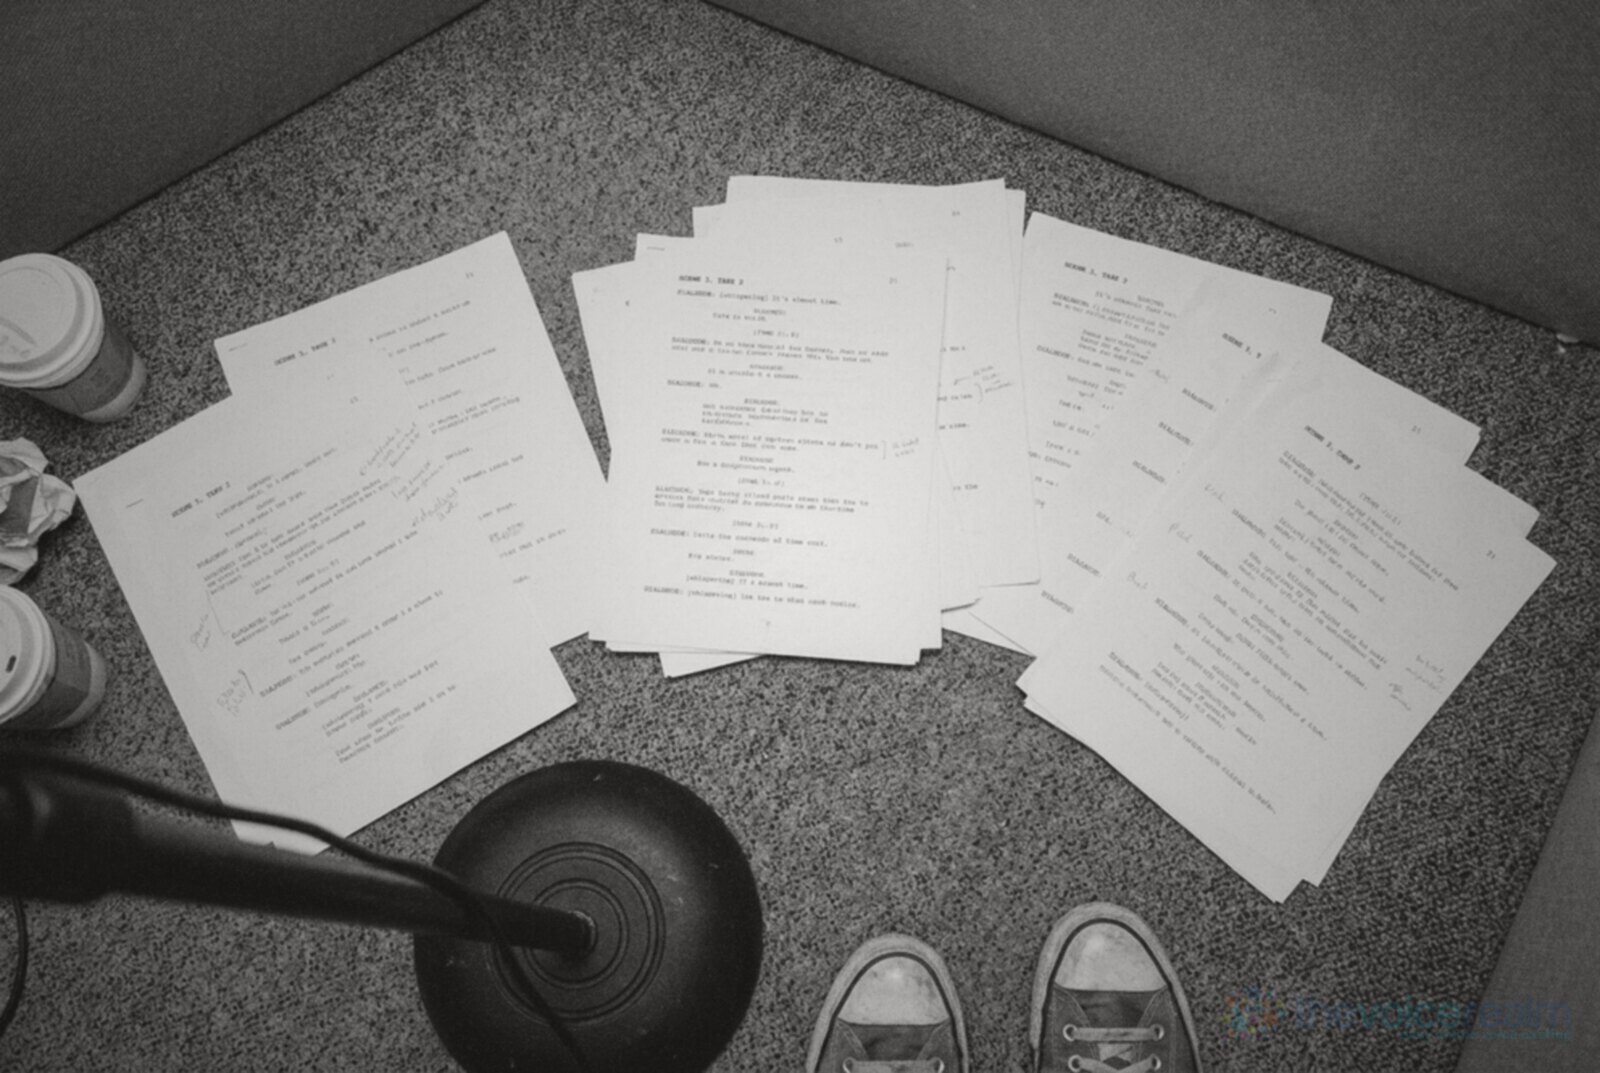
A good microphone in a treated room hears everything. That’s the point of it, and it’s also the problem with paper. Every page turn, every crinkle as you shift your grip, every soft slap as a sheet lands on the stand ends up in the recording. You either stop and redo the line, or you spend your evening editing out rustles.
Audiobook producer C.C. Hogan, who works with narrators, describes the old way honestly in his guide to preparing scripts: “Over the years, even with the best voice overs, I had a constant battle with page turns.” His fix in those days was simple. “I would thump the talk-back button and mumble ‘paper.’” The narrator would then reread the line without the rustle.
Multiply that by a 300 page novel and you can see why studios moved on. A tablet has no pages to turn. You swipe or tap in a pause, and the microphone hears nothing at all.
There are smaller wins too. You can carry a whole week of scripts in one hand. Late changes from a client land in your inbox and go straight onto the screen without a trip to the printer. And no more coffee rings on page 14.
© The Voice Realm
Mounting it where your eyes and the mic agree
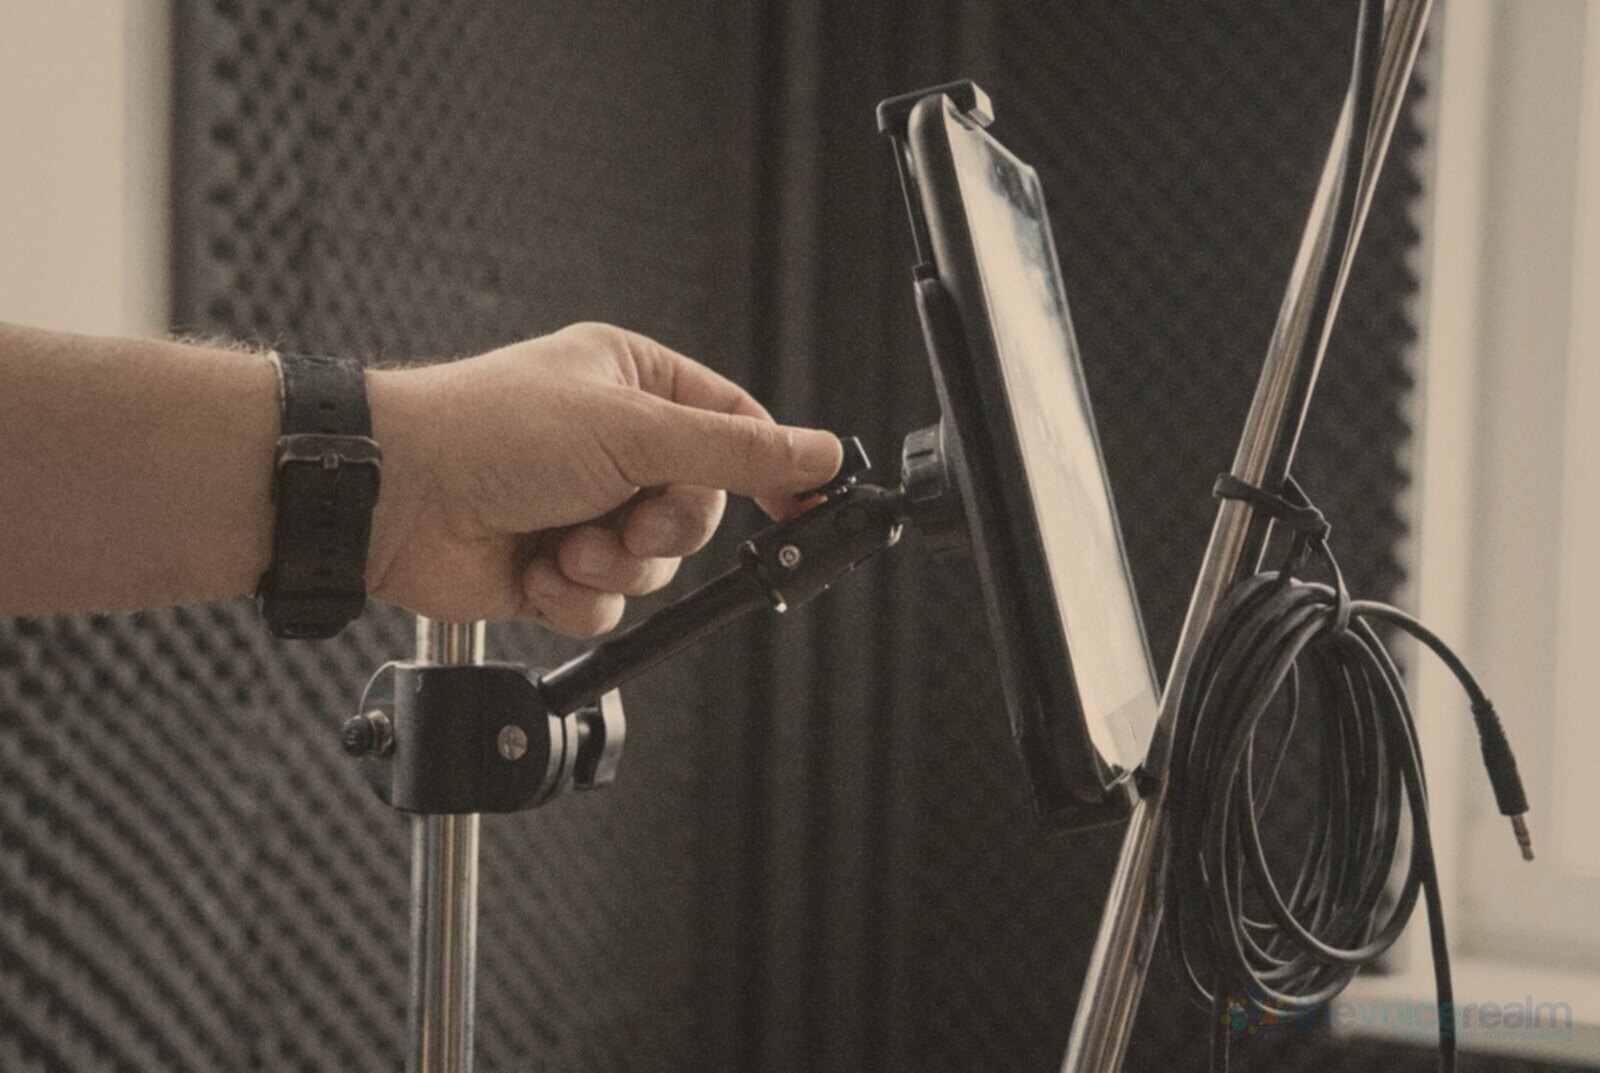
Holding a tablet is almost as noisy as holding paper. Your hands shift, your rings click on the case and your arms get tired. The tablet belongs on a mount, and the mount belongs on something solid.
The simplest option is a clamp style tablet holder that grips the pole of your mic stand or a separate stand beside it. Jason Bermingham, writing about a recording trip for Sound On Sound, kept it just as simple: “We used a gooseneck clamp to secure our iPad.” A gooseneck lets you bend the screen into place, though cheaper ones can droop over a long session, so tighten it and check it before you start.
“One of the nice things about working on a tablet is it is silent.”
C.C. Hogan, audiobook producerPost this quote
Where you put it matters as much as what holds it. Aim for these three things:
- Eye level, or just below. If you have to look down, your chin drops, your throat folds and the sound changes. If you have to look up, your neck tightens. Set the top line of text roughly where your eyes land when you’re looking straight ahead.
- Beside the mic, not behind it. You want to read without turning your head away from the capsule. Most actors put the tablet just to one side and slightly below the mic, so a glance down and across finds the text.
- Close enough to read without leaning. If you creep forward to read small text, your distance to the mic changes line by line. Make the text bigger instead.
Once it’s set, mark the clamp position on the stand with a small strip of tape. Next session you’ll be in the same spot in ten seconds, and your sound will match the last job.
© The Voice Realm
Angle the screen away from the mic
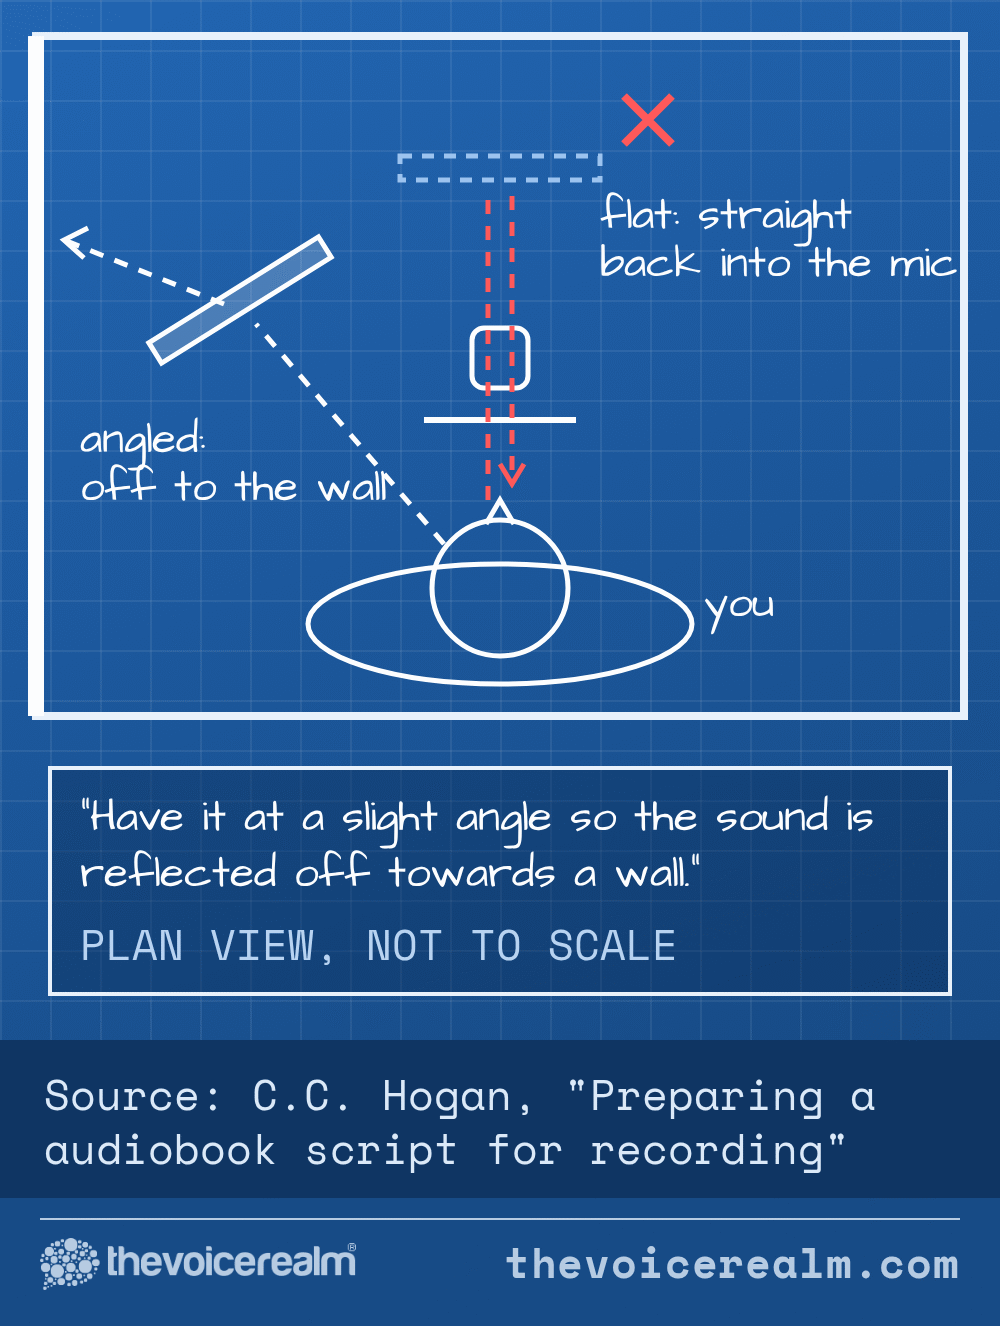
A tablet is a flat, hard sheet of glass. Hard flat surfaces reflect sound, and a reflection that arrives a split second after your direct voice mixes with it and colours the tone. It’s a subtle hollow, slightly phasey sound, and once you hear it you can’t unhear it.
Hogan’s advice is to the point: “Just make sure it doesn’t reflect your voice back at you.” The trick is geometry. If the screen faces you squarely with the mic between you, your voice can bounce straight back into the capsule. Tilt it a little and the reflection heads off into the room, where your treatment can soak it up.
Paper on a music stand has the same problem, by the way, so this isn’t a reason to stay with paper. Many stands are solid metal sheets, which reflect even more. A tablet at a slight angle beside the mic is usually better than a flat stand directly behind it.
If you want proof rather than theory, record a short read with the tablet square on, then again with it angled, and compare. Voice Edit Suite’s free Home Studio Analysis will show you what your room is adding to the sound, so you can measure before you move anything and again afterwards.
© The Voice Realm
Settings that keep a tablet silent
A tablet can be the quietest thing in your booth or the noisiest. The difference is five minutes in Settings before you press record.
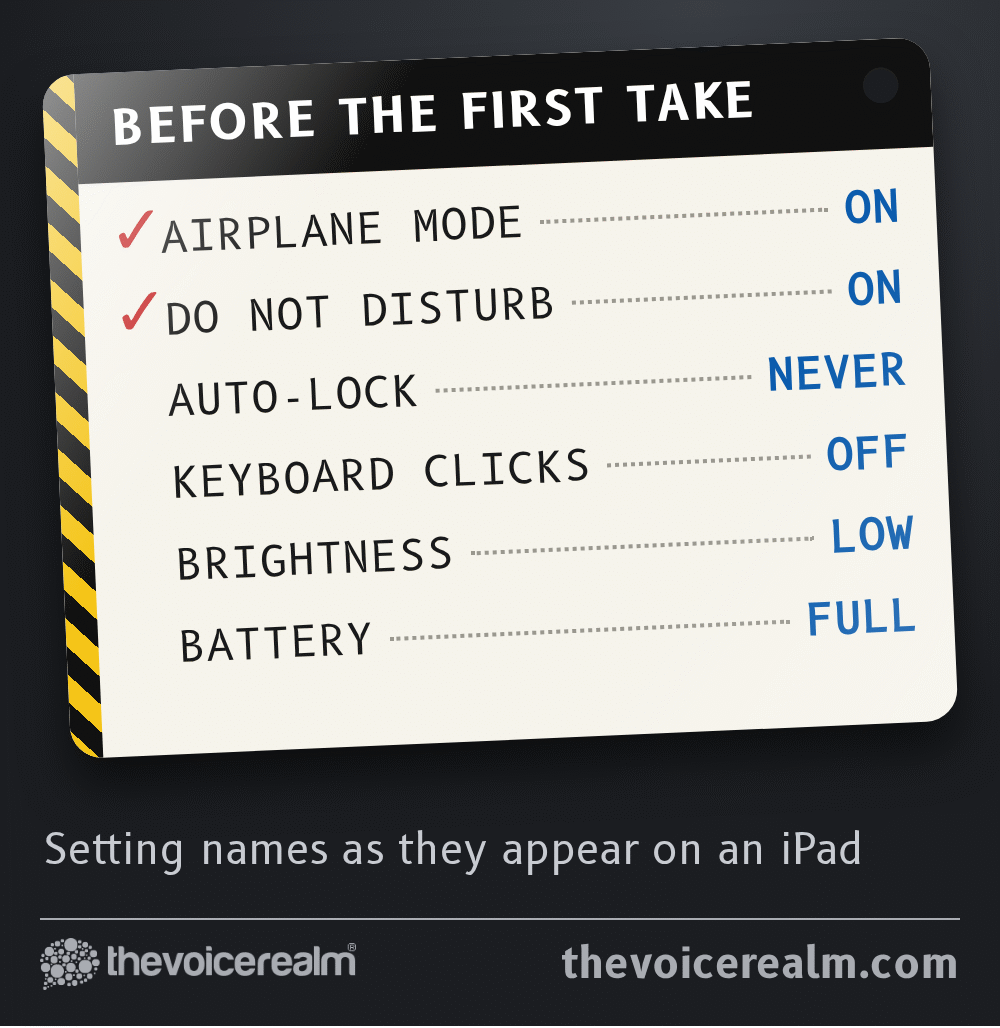
The big one is notifications. A message tone, a calendar alert or even the soft buzz of a vibration will ruin a take, and it always happens on the best one. Switch on Do Not Disturb or a Focus mode that silences everything. Airplane Mode goes a step further and stops anything from arriving at all, which also keeps a cellular tablet’s radio from causing the rhythmic buzz some audio gear picks up from phones.
 VOICEMASTERACADEMYTwenty modules, one at a time.Breath controlHome studioCommercial techniqueAuditionsStart module oneNo experience needed.
Next, stop the screen from going dark mid paragraph. On an iPad, Auto-Lock lives in Display & Brightness, and setting it to Never while you record means you’re not tapping the glass to wake it. Remember to switch it back afterwards if you care about battery life. Keyboard Clicks and other system sounds can go off too, in the Sounds settings, so typing a correction between takes doesn’t click.
Turn the brightness down. A screen at full blast in a small, dim booth is tiring to stare at for an hour, and it lights your face like a campfire on camera calls. Charge it fully before the session as well, so you’re not reaching for a cable halfway through chapter nine.
Format the script for reading out loud
A script that’s comfortable to read silently isn’t always comfortable to read aloud. On a screen you can fix that in seconds, which is a big advantage over paper.
Make the text bigger than you think you need. Your eyes are working at arm’s length, often under dim light, and you want to see the next phrase coming without squinting. Double line spacing helps your eye find its place again after you glance at the mic or your notes. A plain font with clear letter shapes beats anything decorative.
Long blocks of text are where readers stumble. Hogan suggests writers and producers think about the performer here, noting that “breaking up a long paragraph with extra paragraph breaks is not a bad thing”. If you’re allowed to edit your copy of the script, add breaks at the natural breath points. You’re not changing the words, just making them easier to deliver.
PDF or document? Either works. A PDF keeps the layout exactly as the client sent it, which matters for scripts with timecodes or tables. A document file lets you resize text and reflow it to fit the screen. Many voice actors keep the PDF for reference and read from a reflowed copy.
Marking up on glass
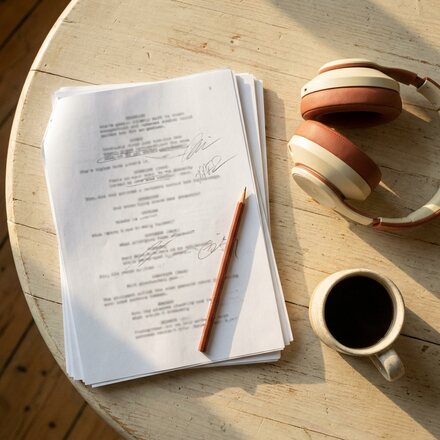
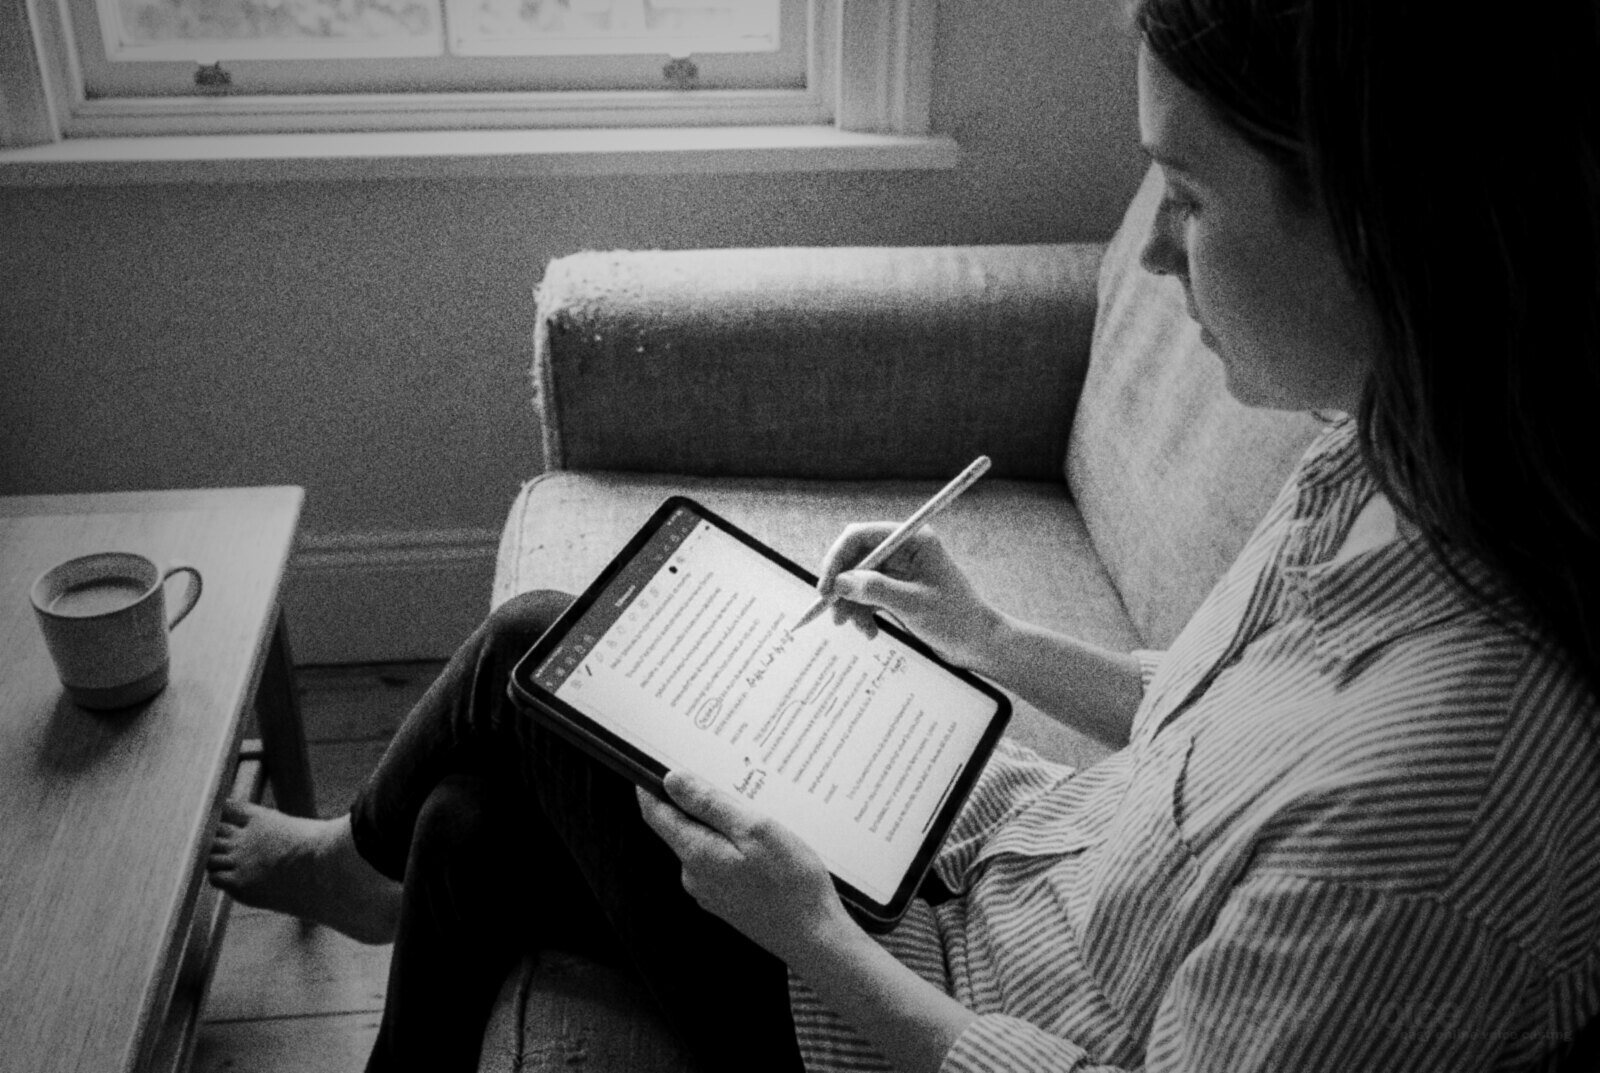
One of the best things about a tablet is that markup is quick and tidy. With a stylus and any app that lets you write on a PDF, you can underline the operative word, circle a tricky name, add a breath mark or note a pronunciation right where you’ll need it.
Keep it light. A page buried in highlighter is as hard to read as no markup at all. Pick one colour for emphasis and another for pronunciation and breaths, and stick to it on every job so your eye learns the code. If you’ve never developed a system, our guide on marking up a voice over script walks through a whole page step by step, and it works just as well on glass.
Do the markup before you get in the booth, not between takes. It’s quiet work, but it pulls you out of the read, and a stylus tapping on glass right next to the mic is easy to pick up.
© The Voice Realm
Scrolling without noise
Moving through a long script is the last thing to master. The rule is the same as with paper: change pages in the gaps, never during a line.
Most reading apps let you tap the edge of the screen to turn a page, which is quieter than a swipe. Practise reaching the tap zone with one finger and without leaning. If you record long form, look at a Bluetooth page turner, the kind musicians use with a foot pedal. Your hands stay still, your body stays in place and the page moves when you press.
Turn the page one line early. Read the last line of a page, pause, turn, then read on, so you’re never caught mid sentence with half a thought on each page. If you work with punch and roll, the pause before the punch is a perfect place to turn, and our guide to recording with punch and roll shows how that pre roll gives you a moment to settle.
© The Voice Realm
Paper still has a place
None of this means binning your printer. Keep a printed copy of anything important as a backup. Tablets crash, batteries die and an app update can arrive at the worst moment. A paper copy on the floor of the booth costs nothing and saves a session.
Some performers also find that marking a script by hand helps them learn it, then read from the clean copy on screen. Do whatever gets the best read out of you. For most voice actors, though, once the tablet is mounted, angled and silenced, they don’t go back. The booth gets quieter, the edits get shorter and page 14 never makes a sound again.
Sources: C.C. Hogan, “Preparing a audiobook script for recording”. Jason Bermingham, “Session Notes: Recording Voiceover On The Road”, Sound On Sound, December 2017.
Ready to get booked?
See the jobs open right nowAbout Sarah Robbins
Sarah Robbins writes for The Voice Realm about finding voice over work, home studios, casting and the business side of voice acting.