Blog
You hear it on playback. A soft thud under the third word, a low grumble through the middle of a paragraph, a knock right where you reached for your water. You didn’t hear any of it while recording. Your microphone did, and it heard it through the stand.
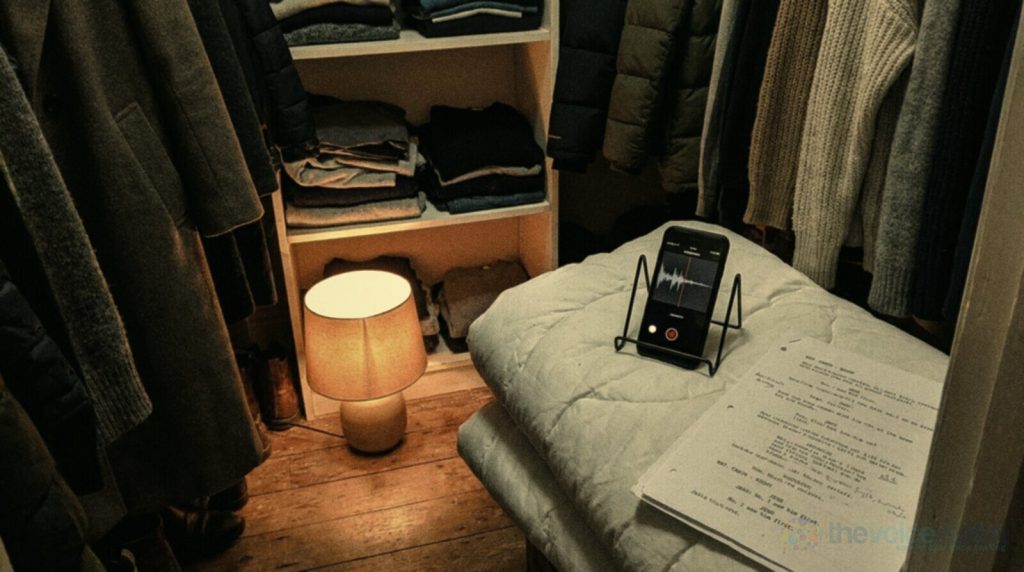
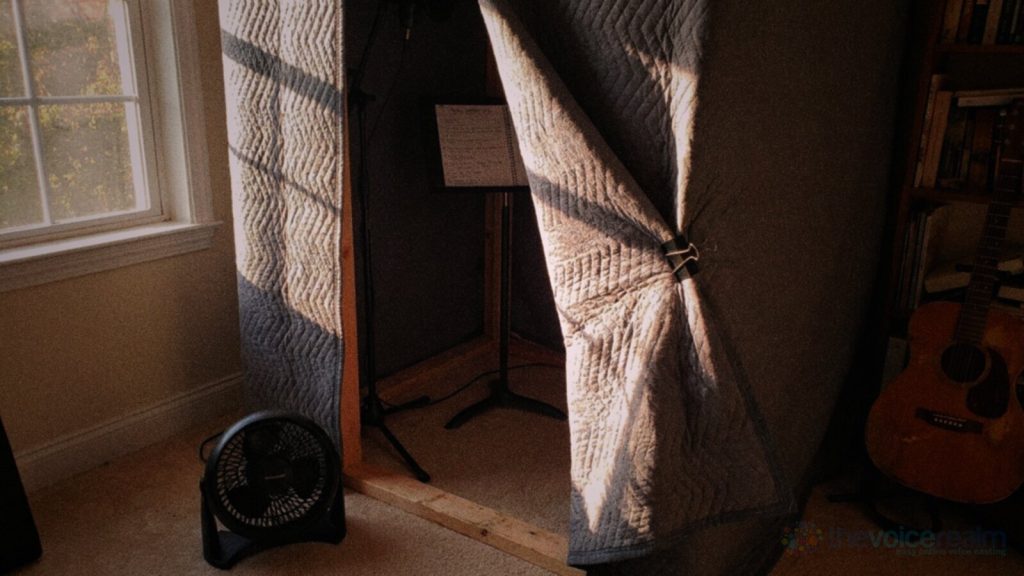
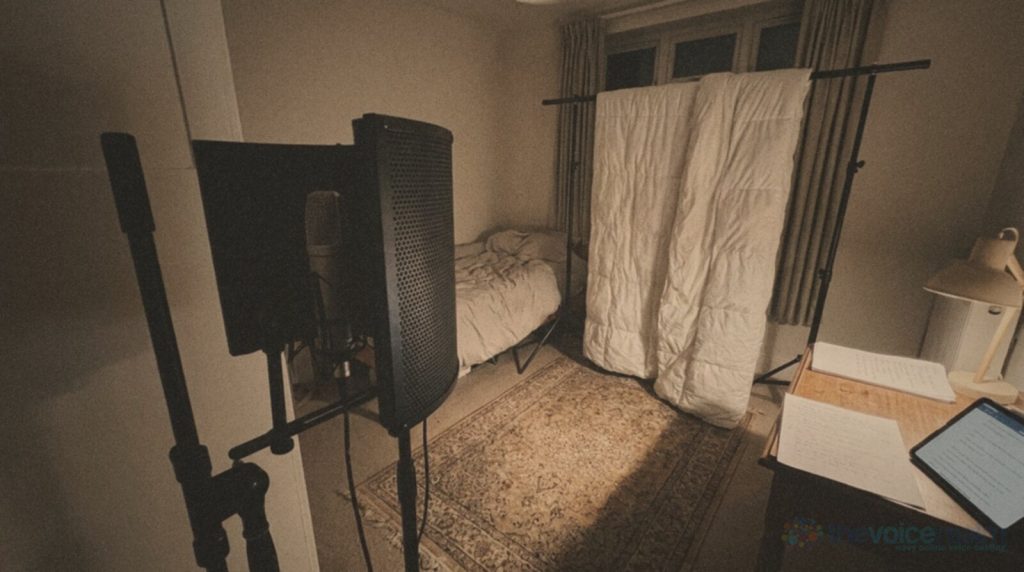
This guide is for anyone recording voice over at a desk, in a closet or in a booth. It explains how vibration travels into a microphone, how to choose between a floor stand and a desk boom arm, what a shock mount actually does, the cable trick that undoes all of it, and a two minute test that tells you whether your set-up has a problem.
How a knock on the desk ends up in your recording
Sound normally reaches a microphone through the air. Vibration takes a shortcut through anything solid the mic is attached to. Hugh Robjohns, technical editor of Sound On Sound, explained it in a reader Q&A: “we tend to place mics at the ends of long, undamped boom arms on relatively floppy mic stands which are, themselves, placed on objects that pick up mechanical vibrations (foot tapping, perhaps) and then pass them along the metalwork straight to the mic.”
When the stand moves, the microphone body moves with it, and the diaphragm inside can’t tell that movement apart from a sound wave. In Robjohns’s words, “the mic indirectly captures the ‘sound’ of its physical movement as well as the wanted music.” For a voice actor, the wanted music is your read, and the unwanted part is every footstep, desk bump and chair creak the stand passed along.
Most of that energy is low in pitch, which is why it shows up as a thud or a rumble rather than a click. It’s also why cheap headphones hide it: plenty of them simply don’t reproduce frequencies that low, so you only find it on a client’s speakers.
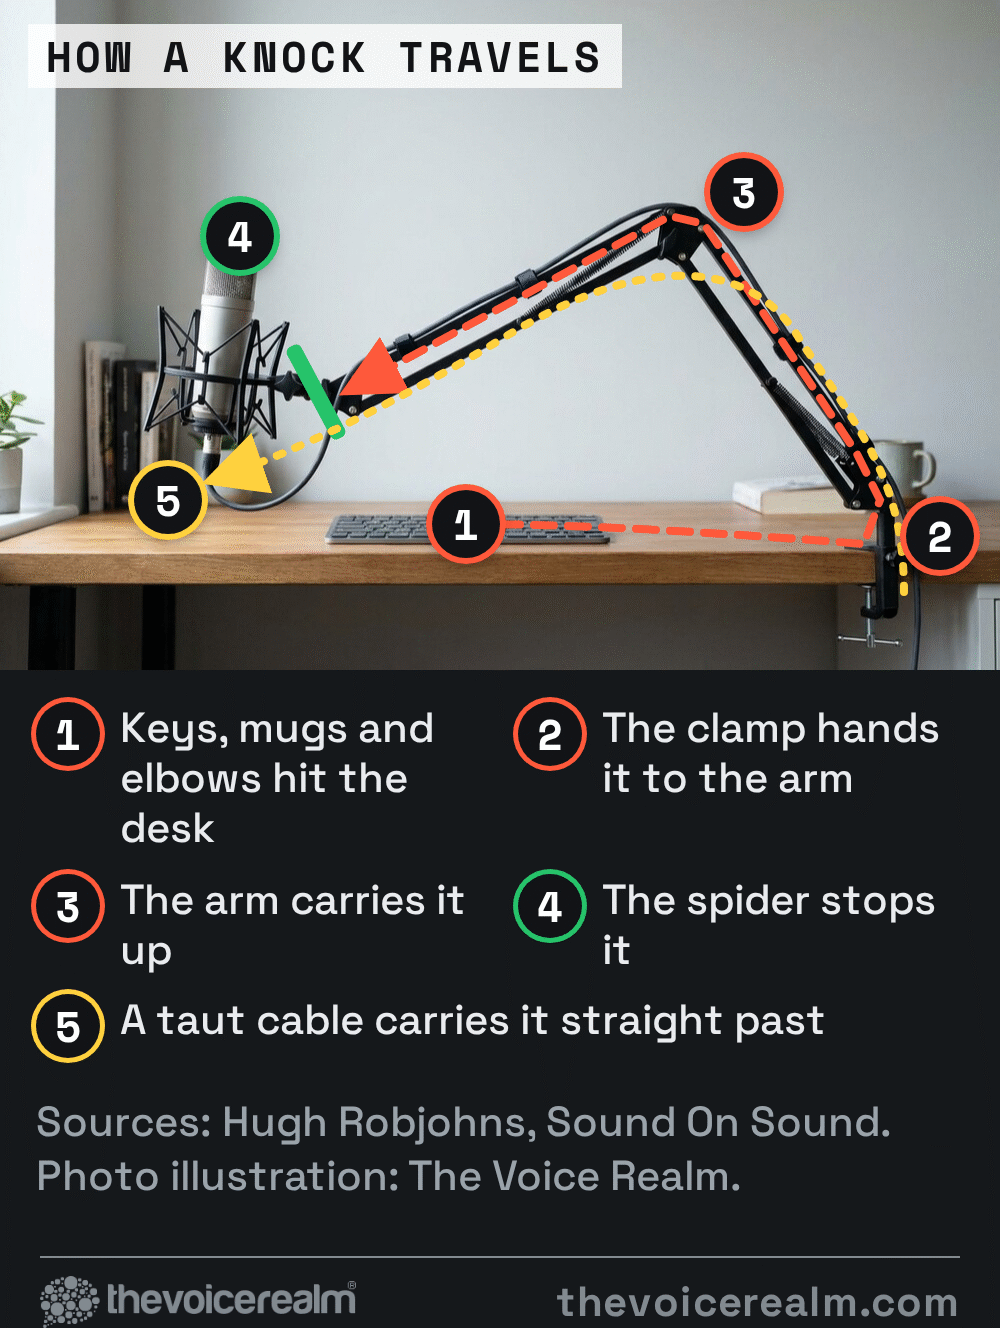
© The Voice Realm
Floor stand, desk arm or something else: what suits your room
There’s no single right answer. Each kind of stand has a weak point, and the trick is choosing the one whose weak point your room doesn’t have.
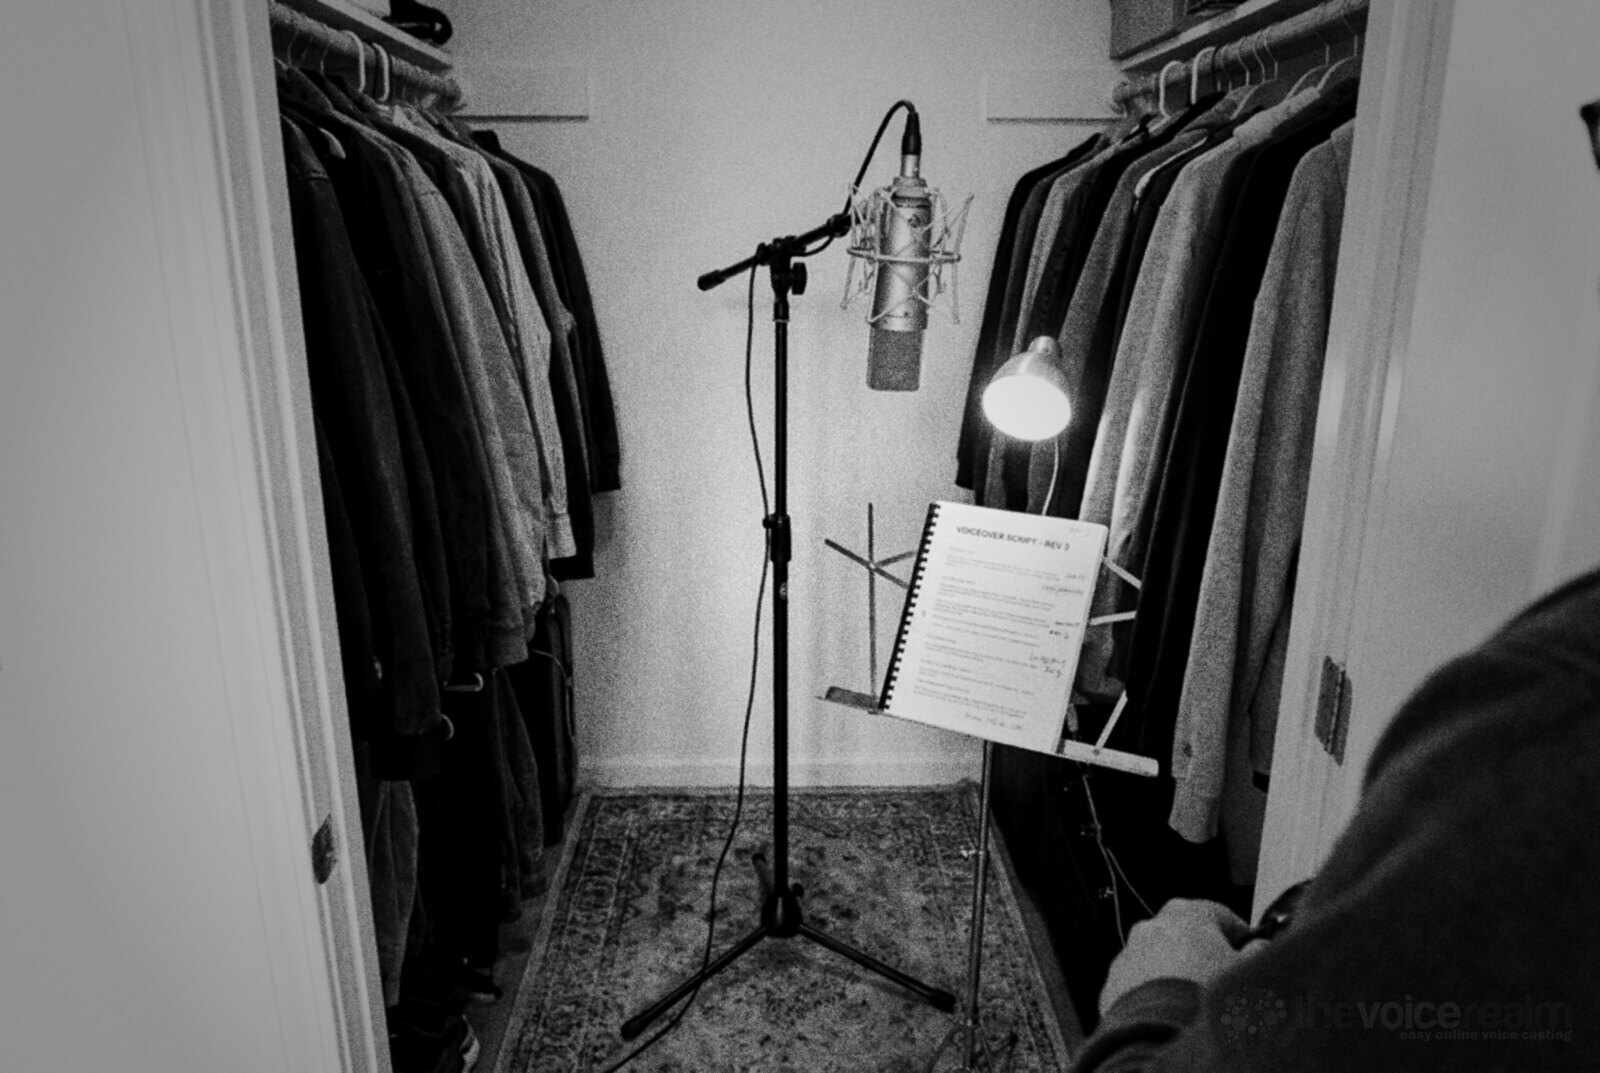
A floor stand with a boom is the classic choice for booths and closets. It doesn’t touch your desk, so typing, mouse clicks and the mug you put down never reach it. Its weak point is the floor. On a wooden floor, footsteps and shifting weight travel straight up the legs. A heavy tripod or a weighted round base, sitting on a thick rug, cuts most of it down. Standing to record also helps, because you’re not leaning on furniture that shares the floor.
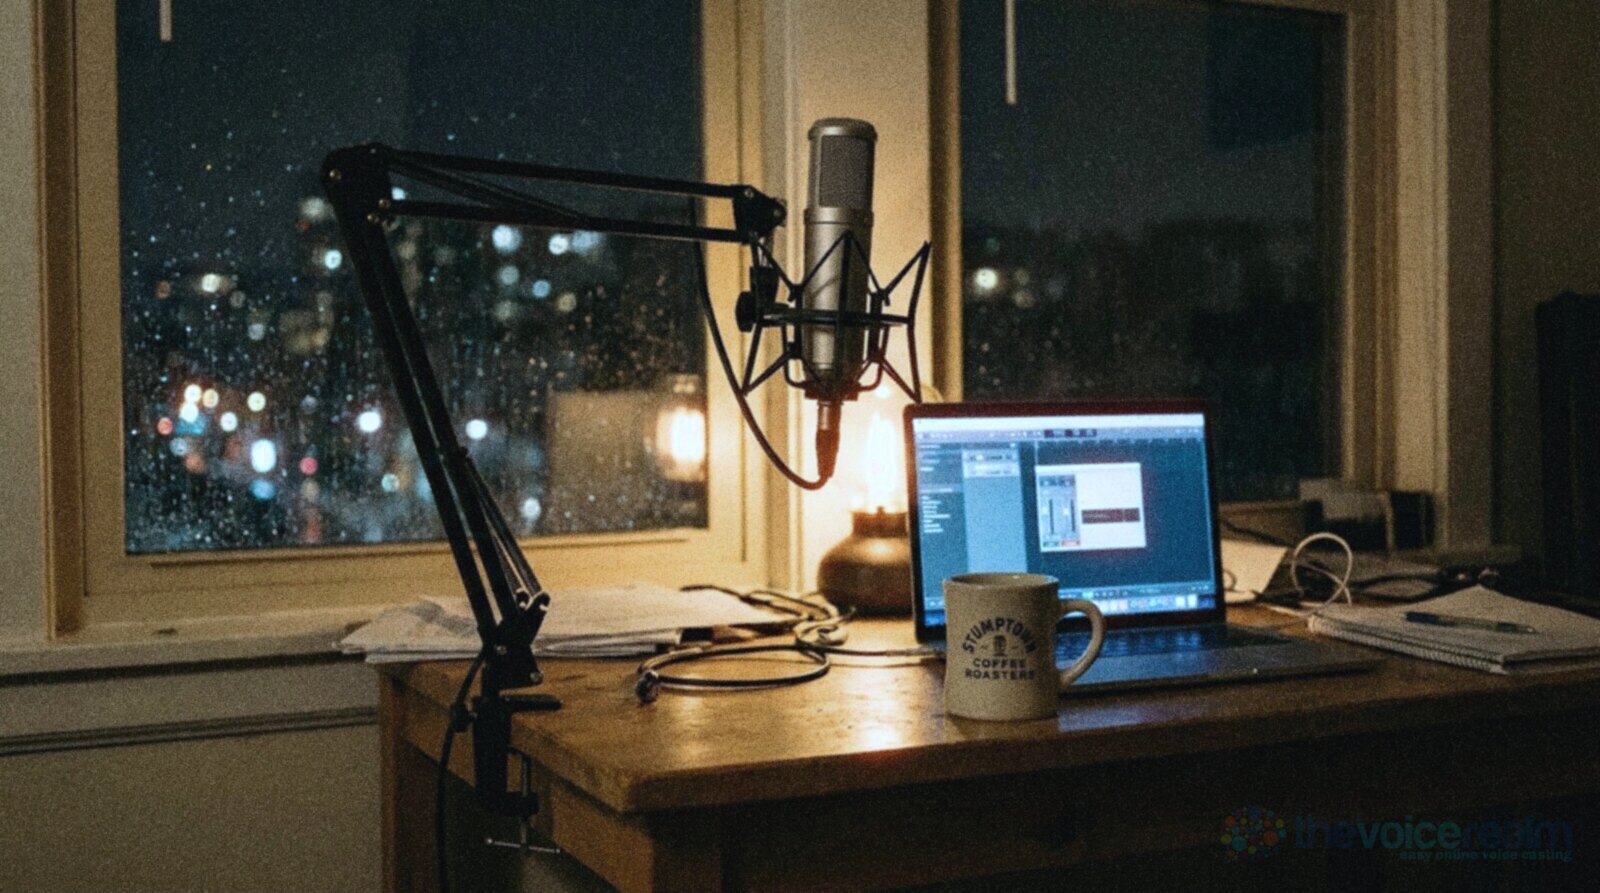
A desk boom arm clamps to the edge of your desk and swings in and out of position, which is why it’s the most popular choice for home studios with limited space. Its weak point is obvious once you think about it: the desk. Every key press, elbow and bumped table leg travels into the clamp. A good arm has damped springs and a cover over them so the springs don’t twang when you move it. Check the weight range printed on the arm against your microphone and its shock mount together; an arm that’s too weak sags slowly through a take, and one that’s too strong pushes back up.
Wall, shelf and ceiling mounts are less common but useful in tiny booths. They take vibration from whatever they’re fixed to, so a mount on a stud wall next to a busy hallway can be worse than a desk.
Whatever you choose, keep the script holder separate if you can. A tablet clamped to the mic stand pole is convenient, and our piece on reading scripts from a tablet in the booth explains how to set one up, but every tap on the glass now travels down the same metal as your microphone. Tap gently, or give the tablet its own stand.
© The Voice Realm
What a shock mount does, and when you can skip it
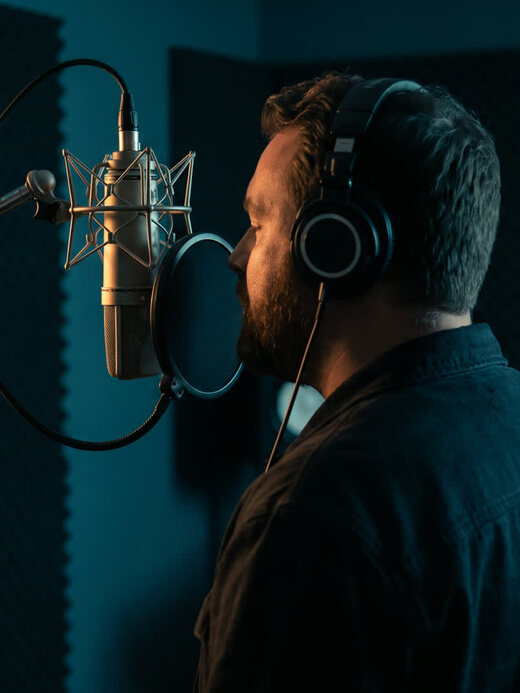
A shock mount, often called a spider because of its shape, holds the microphone in a cradle of elastic bands. Robjohns describes it as a “damped mass-spring arrangement” that traps the low frequency vibrations travelling up the stand before they reach the mic. When it works, the stand can wobble while the microphone hangs still in the middle.
Large diaphragm condenser microphones, the kind most voice actors use, are sensitive and light enough to pick up the smallest knock, which is why many ship with a shock mount or are sold with one. Some broadcast dynamic microphones build the isolation in. Shure, for example, says its SM7B has internal “air suspension” shock isolation that “virtually eliminates mechanical noise transmission.” If your mic has that, a separate spider is optional.
A few things decide whether a shock mount actually works:
- The mic sits centred, not resting against one side of the cradle. If it touches the frame, the isolation is gone.
- The bands are firm but not tight. Old elastic sags and lets the mic droop; replacement bands are cheap.
- Every joint is tightened. A loose thread or a rattling knuckle on the stand creates noise that no mount can stop, because it’s happening right next to the mic.
The cable that sneaks around your shock mount
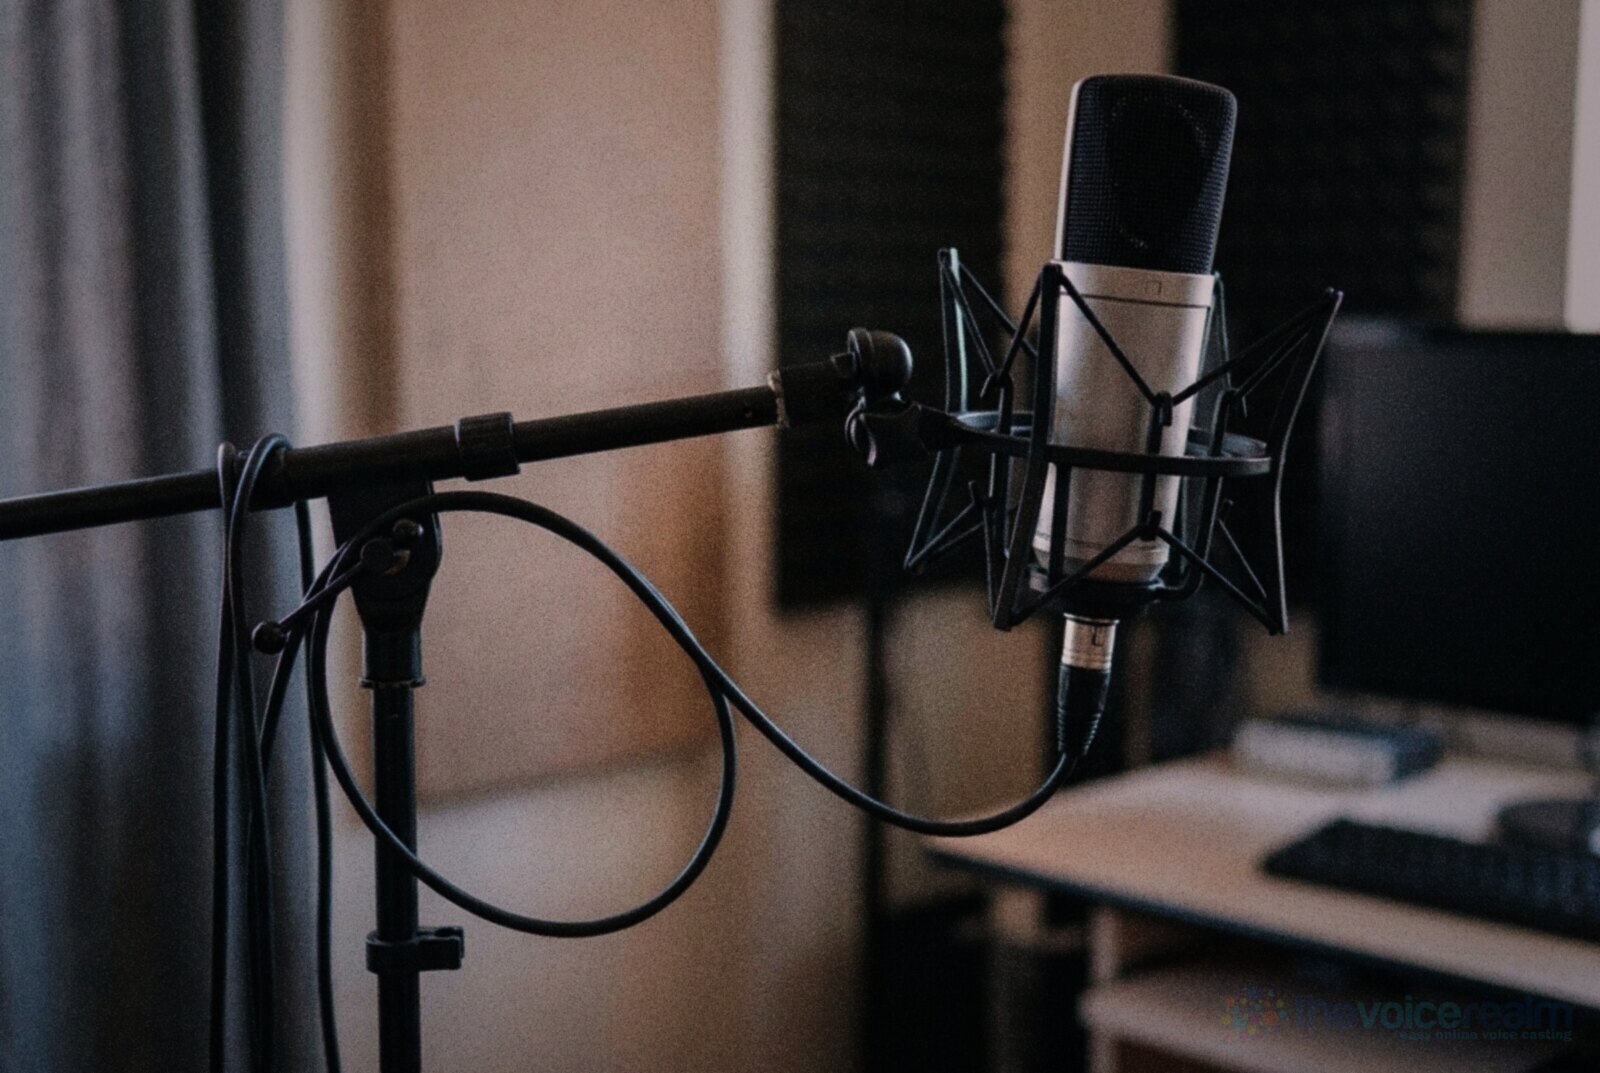
Here’s the part most people miss. You can buy the best shock mount there is and still hear every desk bump, because the cable carries it straight past the elastic. Robjohns warns that a shock mount “can easily be bypassed by the microphone cable. If the cable is relatively stiff and is wrapped around the mic stand, the vibrations can travel along the mic cable and reach the mic that way, neatly circumventing the shockmount.”
 VOICEMASTERACADEMYFirst read to first booking.Twenty modules. The first one is free.Start free
His fix is simple: “use a very lightweight cable from the mic to the stand, properly secured at the stand to trap unwanted vibrations.” In practice that means a short, flexible cable from the mic, a loose loop hanging below the mount so nothing is pulled tight, and a clip or a strip of hook and loop tape holding the cable to the stand just below that loop. On a boom arm, run the cable along the arm in its ties and leave the same slack loop at the microphone end.
If your cable is pulled taut because it’s a few centimetres too short, it’s acting like a rod between the floor and your microphone. Get a longer one.
© The Voice Realm
Why a thump costs more than you think
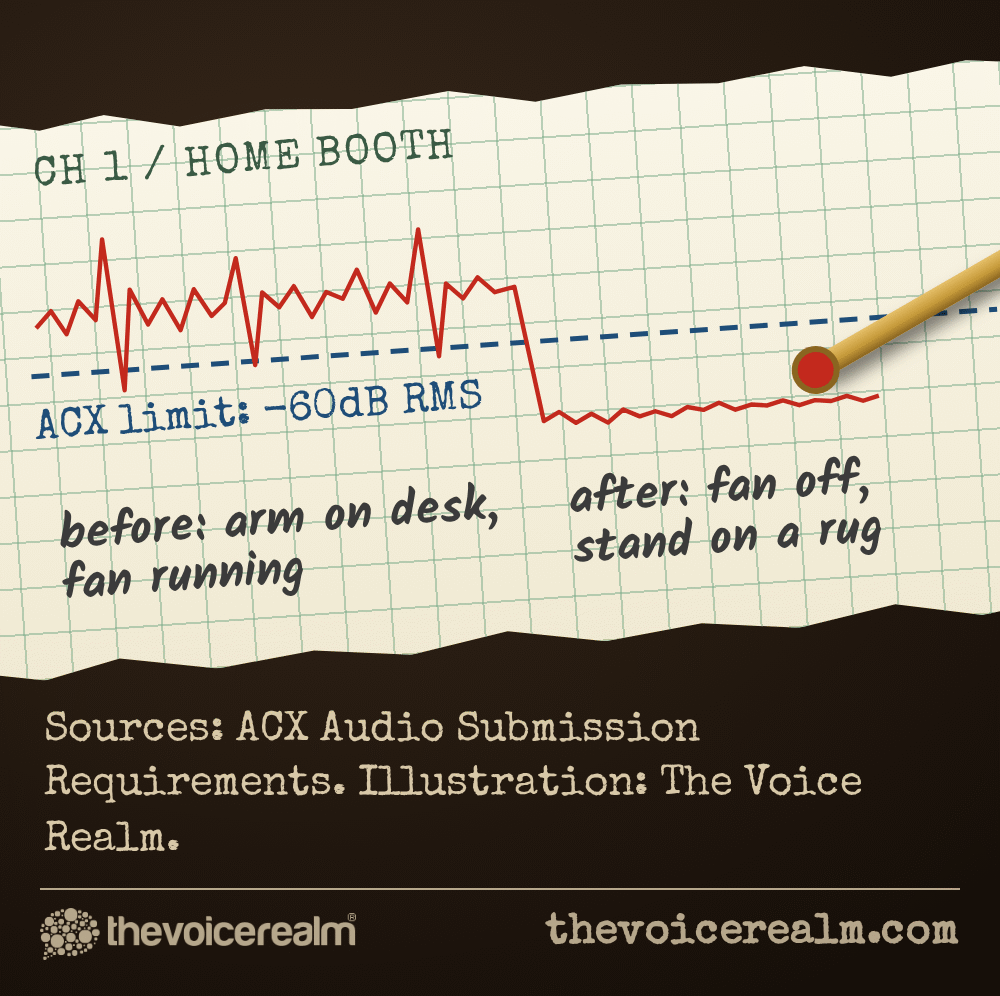
A single knock might seem like an easy edit, and sometimes it is. But vibration noise isn’t always a single knock. A fan on the same desk, a washing machine through the floor or a restless foot gives you a constant low rumble under everything, and that lifts your noise floor, the level of the “silence” between your words.
Clients notice, and some platforms measure it. ACX, the audiobook production platform run by Audible, requires that “Each file must have a noise floor no higher than -60dB RMS to avoid background noise distractions.” A steady rumble from a vibrating stand can push a file over that line on its own, even in a well treated room.
Editing helps, but it has limits. A high-pass filter, which you’ll find in our guide to EQ and compression for voice over, removes much of the low rumble below your voice. A thump that lands in the middle of a word is harder. It shares frequencies with your voice, and cutting it out takes part of the word with it. Stopping it at the stand is always cleaner than repairing it later.
© The Voice Realm
The two minute tap test
Before you buy anything, find out whether you have a problem. This takes two minutes and tells you exactly where the vibration gets in.
- Set your levels as if you were recording, then hit record and stay silent.
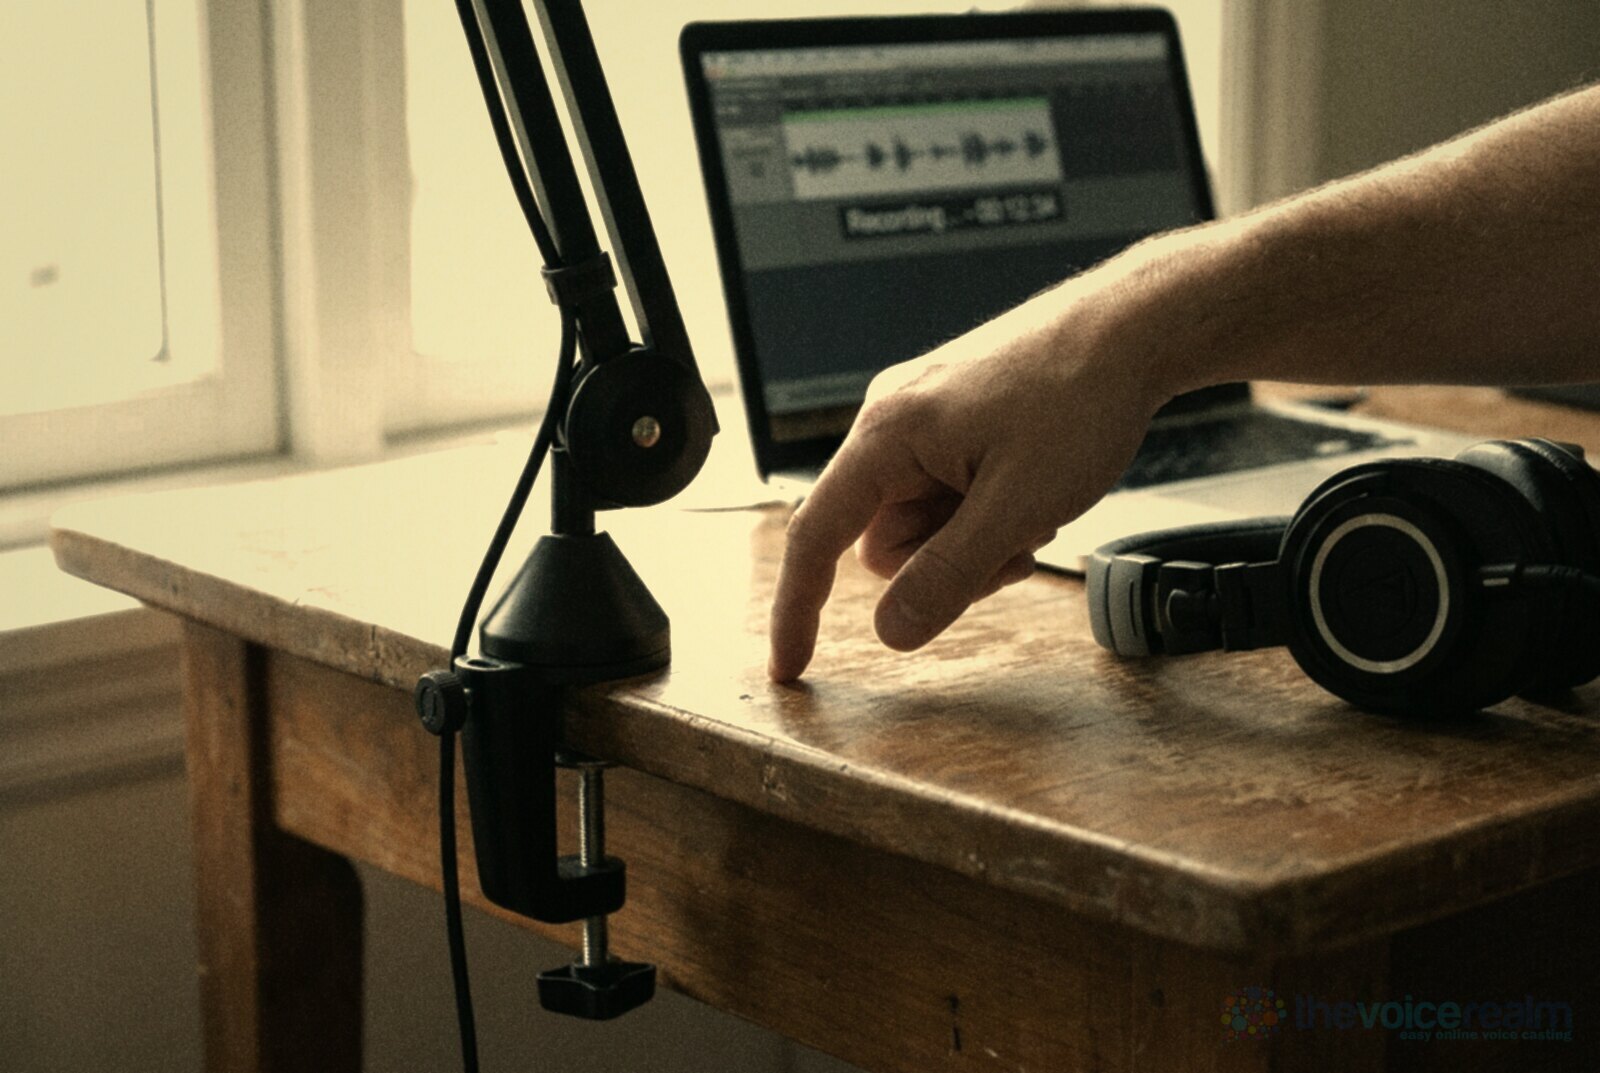
- Tap the desk with a fingertip, a hand’s width from the stand or clamp. Wait five seconds.
- Type a sentence on your keyboard and set your mug down. Wait five seconds.
- Shift your weight in your chair, then take a step on the floor. Wait five seconds.
- Touch the stand lightly, then the cable. Stop recording.
Now look at the waveform and listen on good headphones with the volume up. Each event that shows a spike is a path into your microphone. Fix the biggest one first and run the test again. If the room itself is the bigger problem, the free Home Studio Analysis at Voice Edit Suite measures your recording’s noise and echo. Measure before, fix, measure again.
© The Voice Realm
Small fixes that cost nothing
Most vibration problems are solved by moving things rather than buying them.
Move the keyboard off the desk the mic is clamped to while you record, or don’t type during takes. Put your water on a separate table or the floor. If your stand is on a wooden floor, slide a folded towel or a rug under it. Sit still between lines, and if your chair creaks or rolls, swap it for a stool or stand up.
“If the shockmount works well, the mic stays still while the stand wobbles about around it, much like the interior of a car moving smoothly while the wheels below are crashing in and out of potholes!”
Hugh Robjohns, Sound On SoundPost this quote
Check the stand itself. Tighten every knob, and if the boom arm’s springs ring when you flick them, wrap them or slide the arm’s cover back on. Rest your hands in your lap, not on the desk. And take off any ring or watch that clicks against the desk when you gesture; it’s a small noise, but it travels.
Getting the stand quiet is half the job; our guide on hunting down background noise covers the hums and hiss that come through the air instead.
Sources: “Q. If speakers have to be ‘anchored’, why don’t mics?” Hugh Robjohns, Sound On Sound; “SM7B Vocal Microphone,” Shure; “ACX Audio Submission Requirements,” ACX.
Ready to get booked?
See the jobs open right nowAbout Sarah Robbins
Sarah Robbins writes for The Voice Realm about finding voice over work, home studios, casting and the business side of voice acting.