Blog
Blog
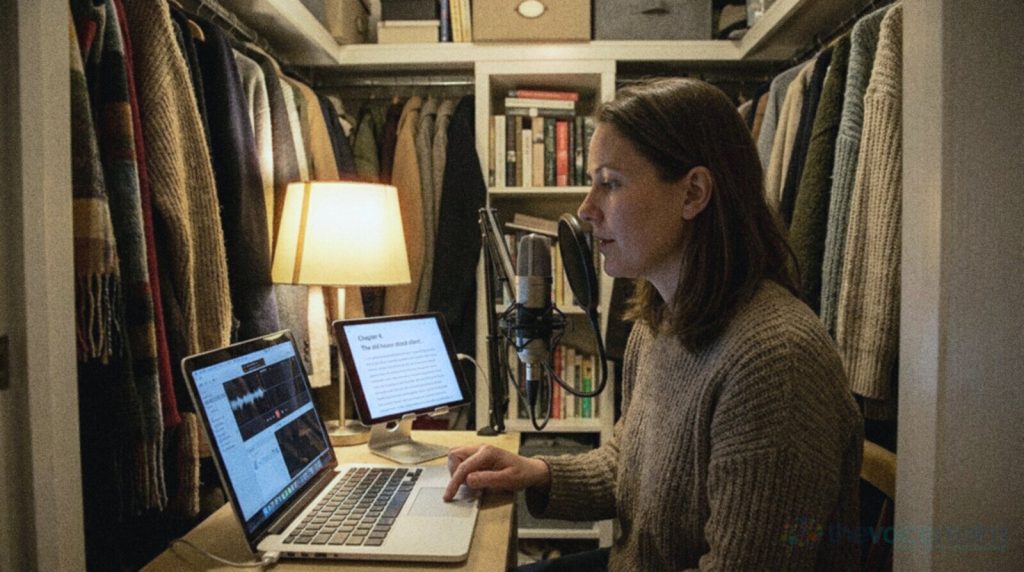
Listen back to a home recording and somewhere in the first paragraph there it is: a dull thump on “people”, a little explosion on “big”, a bump that makes the meter jump and the whole word go muddy. That’s a plosive, and nearly everyone who records their own voice fights them at some point. This guide is for voice actors recording at home who want to know what’s actually happening when a P pops, why the pop screen sometimes doesn’t help, how to place the microphone so the air misses it, and what can and can’t be rescued afterwards.
What a pop actually is
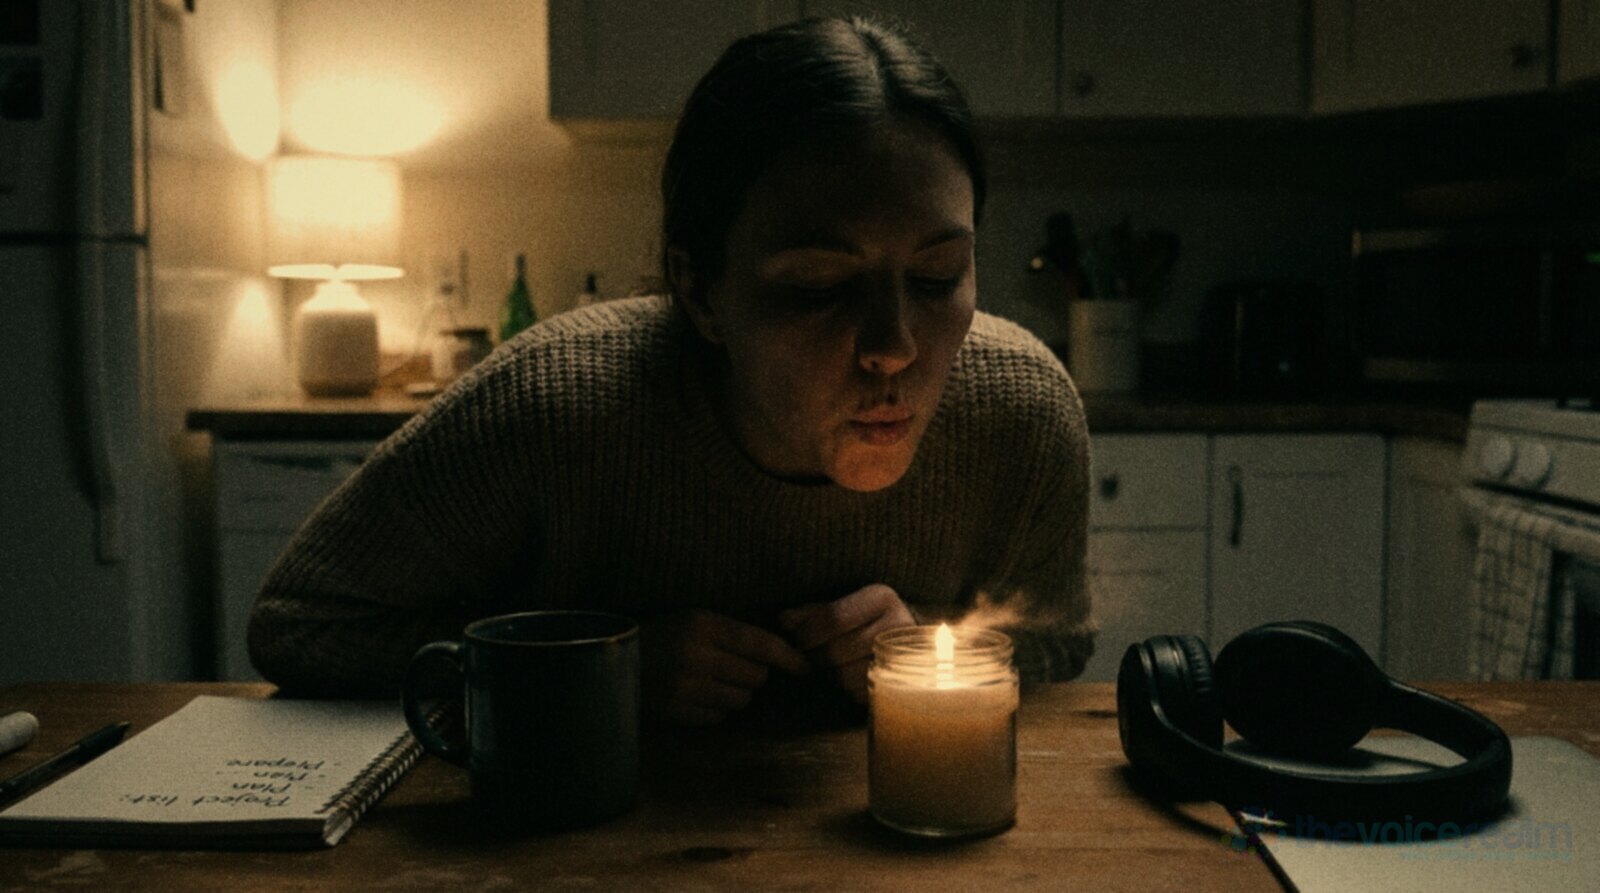
Say “pill” with your hand held flat in front of your mouth. Now say “spill”. The first one hits your palm with a little gust. The second barely does. That gust is the whole problem. A page from a phonetics course at the University of Manitoba puts it plainly: “The initial stops of the first set (pill, till, kill) are followed by a short puff of air which is not present after the stops in the second set of words.” The same page suggests two ways to see it: “It might be easier to notice the difference between the two sets of words if you speak them with your lips a short distance away from a candle, watching which words cause the flame to flicker more. Or else hold a piece of paper loosely in front of your mouth and watch which words cause the paper to flutter.”
Audrey Martinovich, writing for iZotope, gives the definition that matters for recording: “Plosives are defined as consonant sounds made by stopping air flow from the mouth before suddenly releasing it.” Your lips close, pressure builds behind them, and when they open the air leaves in a burst. Neumann’s home studio guide describes what happens next: “Linguists call such speech sounds ‘plosives’, because we create them by releasing a small blast of air. And when this blast hits the membrane it sounds like an explosion, indeed.”
The important thing is that a pop isn’t a sound in the normal sense. Your voice reaches the microphone as pressure waves in the air. A plosive reaches it as actual moving air, a puff that physically shoves the diaphragm. That shove shows up as a big, slow, low-frequency wobble, far below the pitch of your voice, and on a bad one it pushes the capsule or the preamp past what it can handle. That’s why a pop sounds like a thump rather than a loud consonant, and why a loud, confident read pops more than a timid one.
© The Voice Realm
Where the air goes, and where the mic shouldn’t be
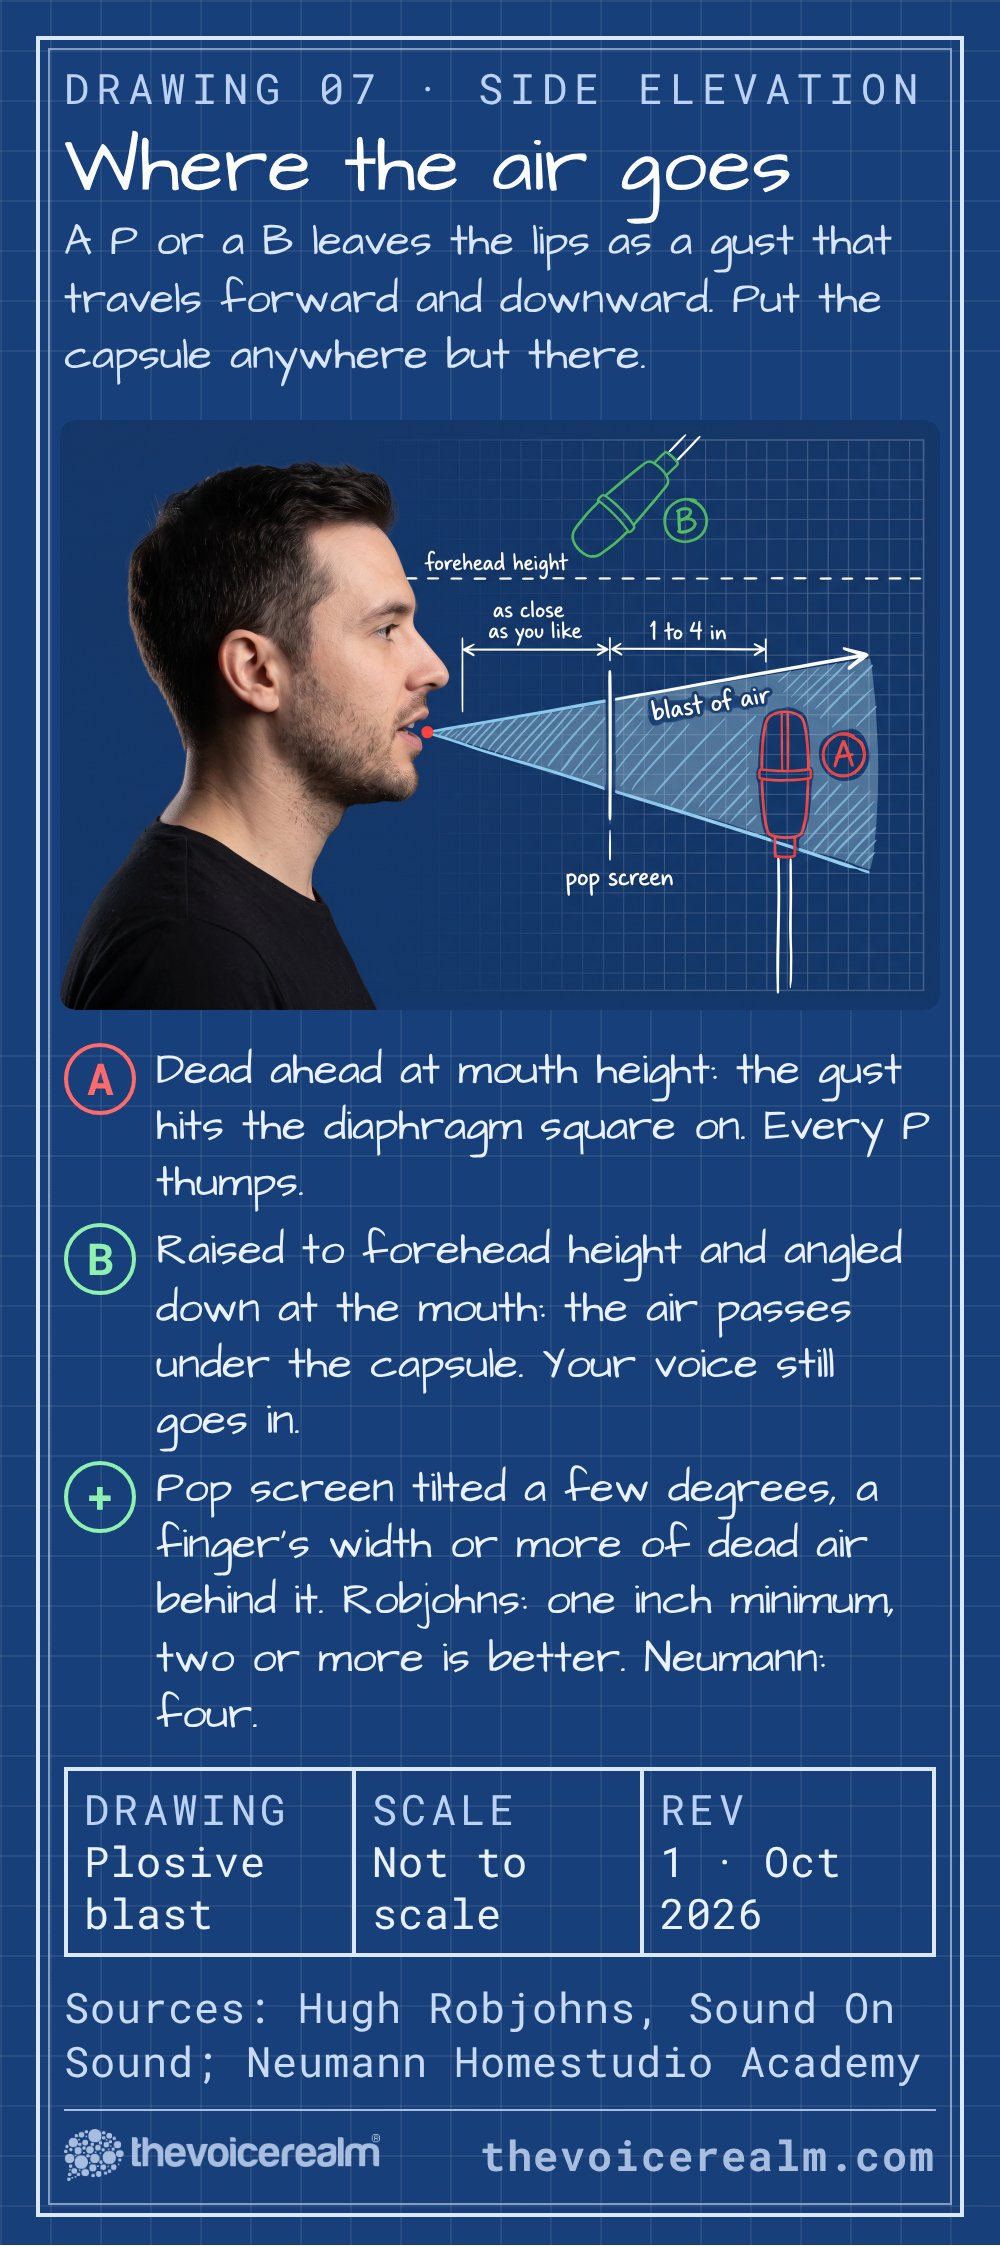
The puff doesn’t spread out evenly. Hugh Robjohns, technical editor at Sound On Sound, answering a reader who couldn’t find any advice on plosives, explains that they “send out a strong blast of air, which generally travels forward and downward from the mouth.” Forward and downward. That tells you everything about where to put the microphone.
If the capsule sits straight in front of your lips, it’s in the firing line for every P and B in the script. Move it out of that line and most pops never happen. Robjohns says that “the mic should be positioned well above and/or slightly to one side of the mouth,” and adds: “I find that raising the mic to around forehead height works well, as this keeps it away from the track of direct plosive blasts from the mouth, and also encourages the vocalist to stand up straight, which aids their breathing.” Neumann’s engineers describe the same idea from the singer’s side: “position the mic top down, at about eye level, and angle it down toward the singer’s mouth.” The air goes under the capsule, your voice still goes into it.
The other move is sideways. Angle the mic so it points at the corner of your mouth rather than the middle, and keep your own head aimed a few degrees off the capsule. You lose almost nothing in tone, because the pickup pattern on a studio condenser is wide enough to catch you a little off centre, and you gain a read where the consonants land clean. We covered the general geometry in our guide to a hand’s width and a slight angle at the mic; the plosive case is simply the strongest argument for it.
Distance helps too. The puff loses energy fast as it travels, so the difference between four inches and eight is bigger than you’d think. The catch is that backing off also lets more of the room in, which is why a treated space and a pop screen together let you stay close without paying for it on every P.
© The Voice Realm
The pop screen, and the gap that makes it work
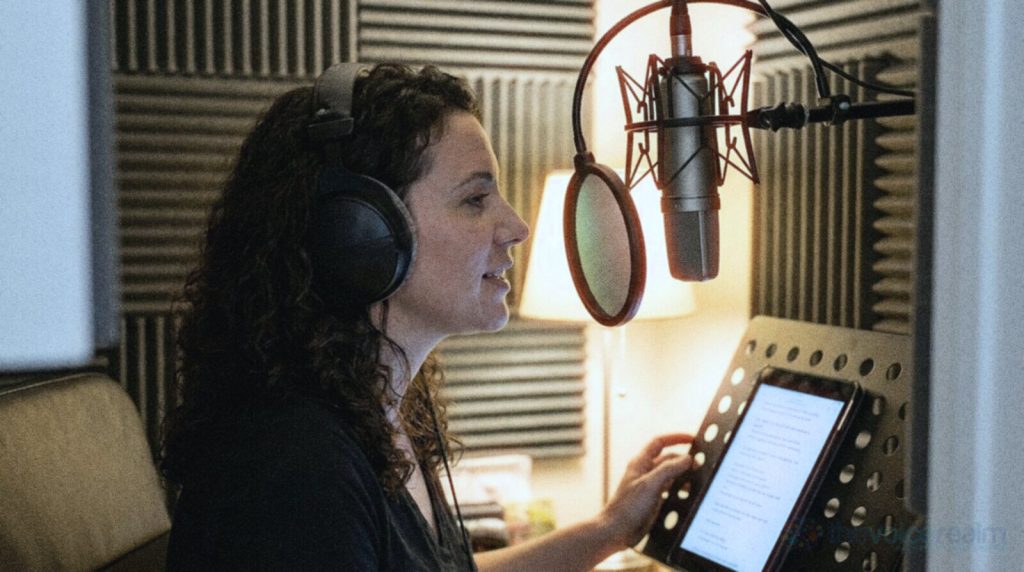
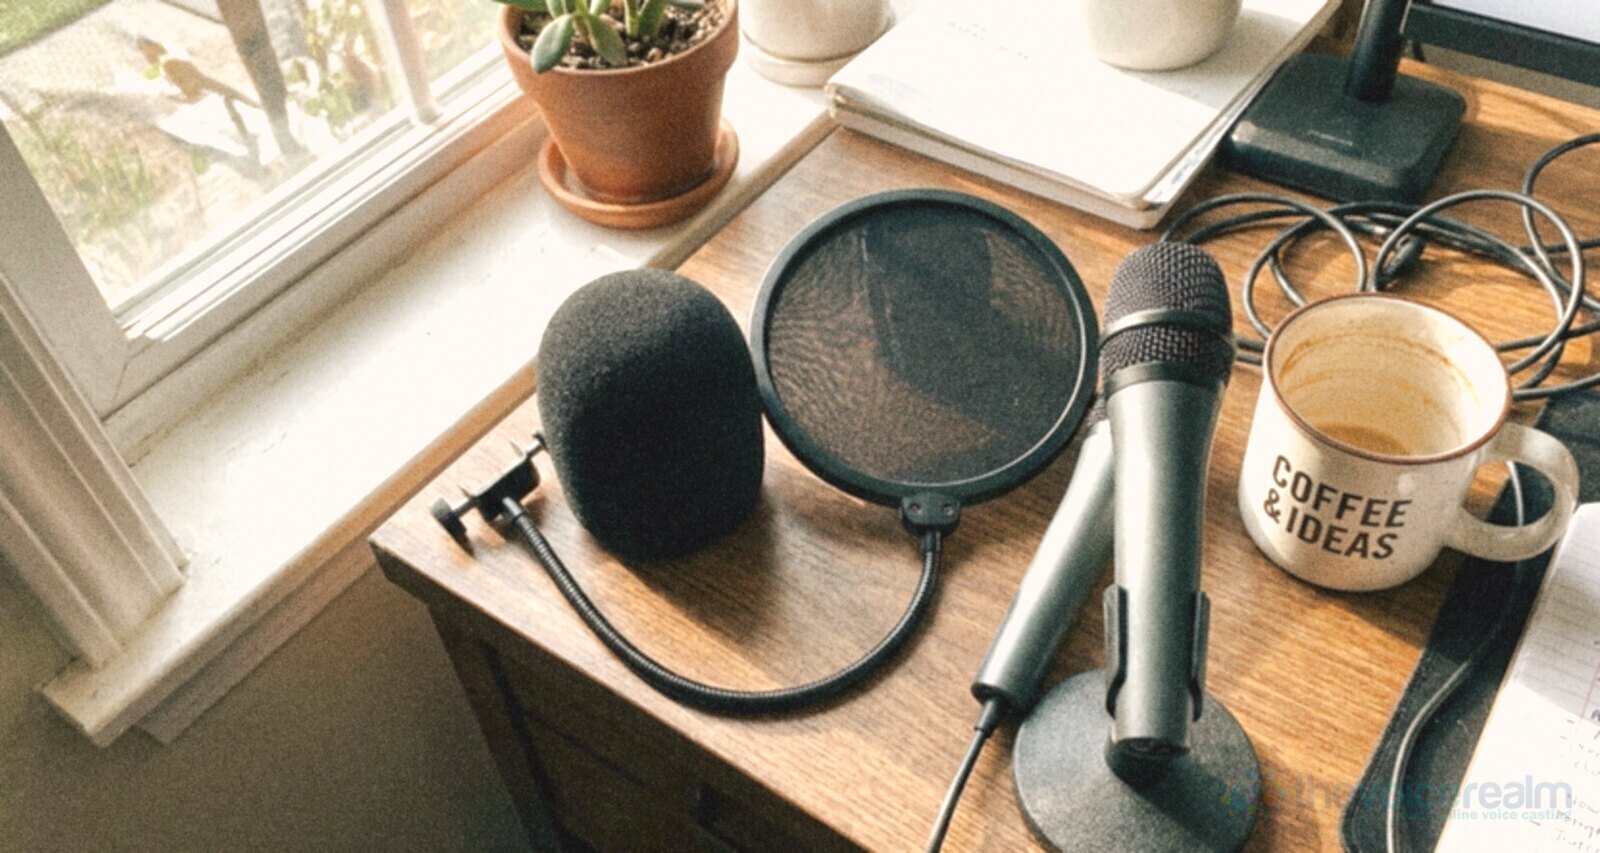
A pop screen is a ring holding one or two layers of fine mesh, nylon or metal, on a gooseneck that clamps to the stand. It works by breaking up the puff: the moving air hits the mesh, spreads sideways and slows down, while the sound of your voice passes through almost untouched. Nylon versus metal is a matter of taste. Neumann says there’s “no consensus among sound engineers as to which material is best.” Robjohns has a view: “Perforated metal screens seem to be better than single or dual-layer fabric pop shields, and purpose-designed, open-cell foam pop shields are better still.”
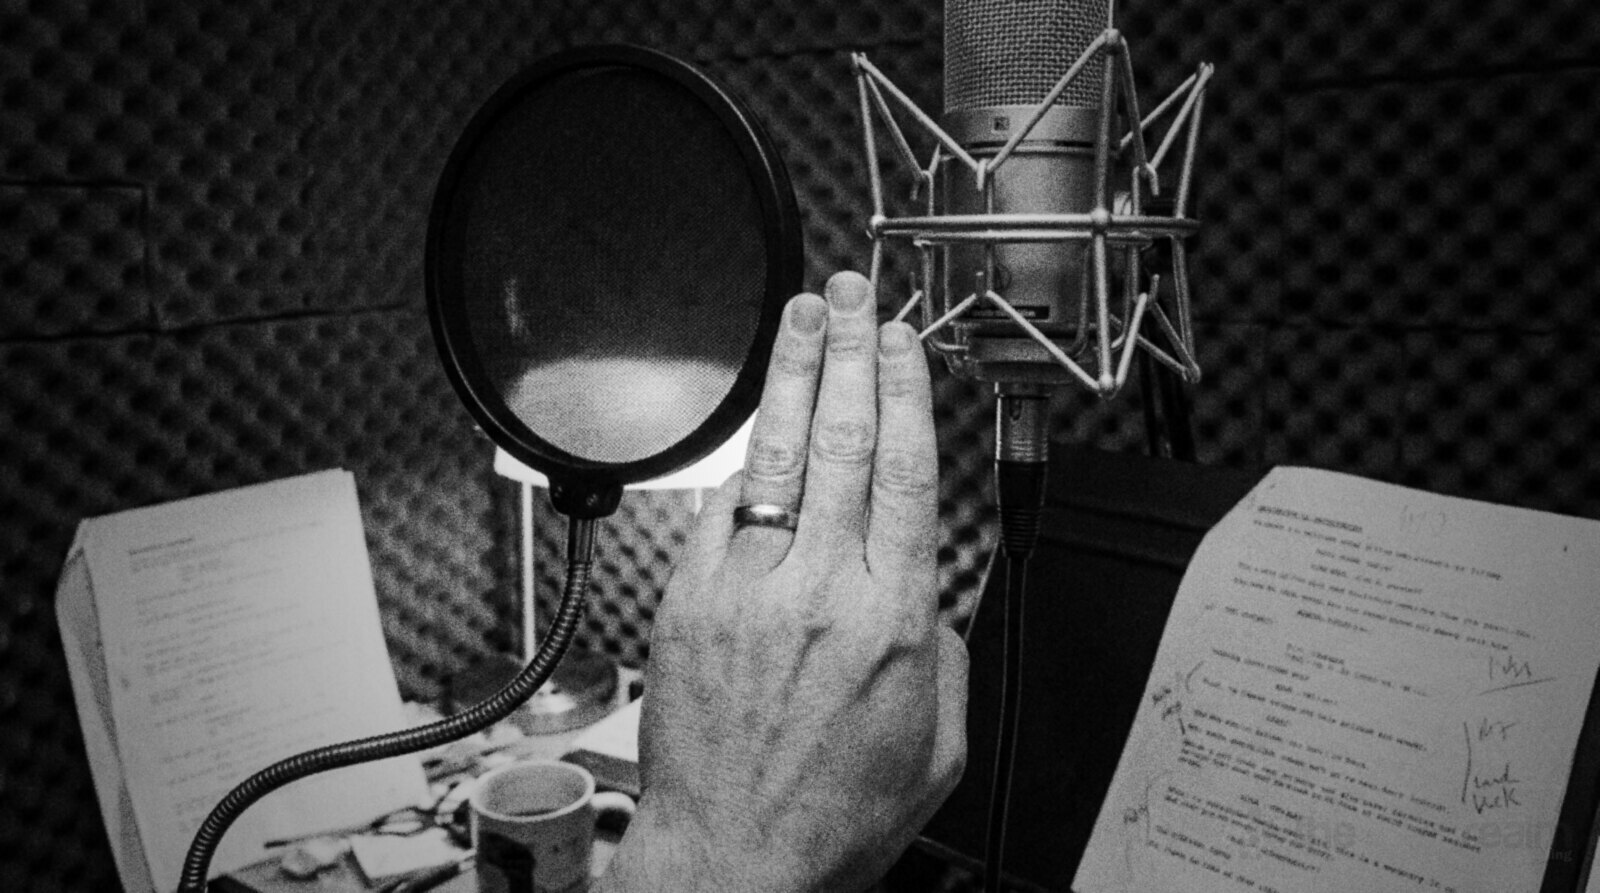
What everyone agrees on is the gap. The screen only works if there’s dead air between it and the microphone, because the puff needs room to lose its energy after the mesh breaks it up. Push the screen right against the grille and the air still arrives at the capsule, just slightly later. Neumann’s advice: “For optimal results, mount the pop screen at least 10 cm (4 inches) away from the mic. It’s also a good idea to angle the pop screen slightly; this way you avoid sound reflections bouncing between the capsule and the pop screen.” Robjohns puts the floor a little lower, saying to “make sure there is at least one inch of space between the mic’s diaphragm and the pop shield (and ideally two inches or more).” In another answer he’s blunt about which side of the screen matters: “The singer can work as close to the pop shield as he or she wants, but it is critical that there is an area of ‘dead air’ between shield and diaphragm.”
So: a hand’s width or so between the screen and the mic, the screen tilted a few degrees so it isn’t a flat mirror in front of the capsule, and you as close to the screen as you like. If the screen is small, be a little more careful about the angle, because, as Neumann notes, “large pop screens sound more transparent than small ones.” The ring itself reflects sound, and on a small screen the ring is closer to the capsule.
© The Voice Realm
Foam windscreens are for wind
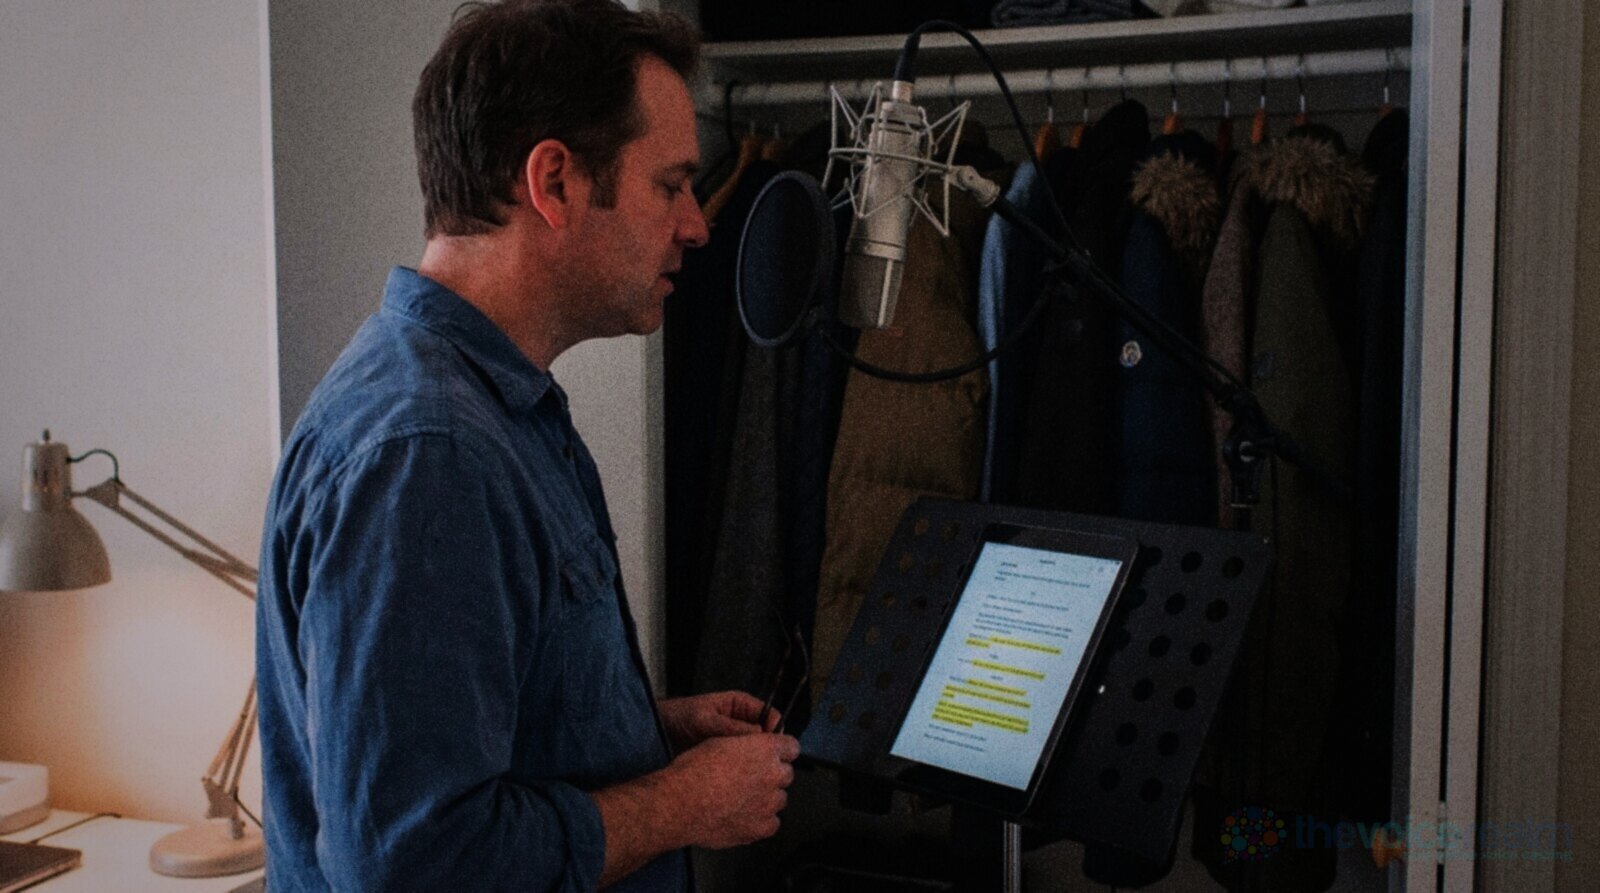
The foam “hat” that came in the box with your microphone looks like it should do the same job. It mostly doesn’t. Neumann’s guide is direct about it: “Windscreens look like they should be a good means of protection, but they usually aren’t. It’s not what they are designed for.” A windscreen is built for breeze on an outdoor shoot or a stage. It will blunt a mild plosive, but the foam sits right on the grille, which is exactly where the dead air should be, and a firm P goes straight through it.
 VoiceEditSuiteIt edits like you would, and it gets better every file.Every fix you make in the editor teaches Auto Clean Up more, so each file comes back sounding like you edited it yourself.See how it worksLearns from numbers, never your audio. Never used to train AI.
It also costs you something. Neumann again: “Pop screens are much more effective against pop noises than windscreens. The latter also attenuate the treble response to some degree, while pop screens affect the sound far less.” Robjohns, asked whether a foam windshield was good enough, said its “cellular foam design” “inherently affects the mic’s high-frequency response, usually quite noticeably,” and that “in the studio, a pop screen is far more appropriate to the task of stopping plosives, and the design ensures minimal impact on the mic’s frequency response.” In plain words, the foam takes the sparkle off your voice to do a job it does badly. Keep it for the travel kit and the windy day.
© The Voice Realm
Technique in the booth
Gear takes you most of the way. The rest is in your mouth, and it’s the part that makes you the kind of talent an engineer wants back. Robjohns describes the habit good vocalists have: “turning away or side-stepping slightly so that plosive blasts aren’t directed straight at the microphone.” For a voice actor that means a small turn of the head on the P words, not a lunge. If the mic is already above you and off to one side, you’ll find you barely need to move at all.
The second habit is softer consonants. You can say “people” with a hard, aspirated P that shoves a cloud of air out, or with a lighter P that still reads as a P to a listener. English only needs the puff in certain places. Go back to “pill” and “spill”: after an S the P loses its puff and nobody misses it. Try saying the P in “people” the way you say the one in “spill”, with the lips releasing but the air held back. It takes practice, and a little of it goes a long way. The aim isn’t to kill the consonant, which makes a read sound mushy; it’s to take the gust out of it.
Third, keep your energy honest. Readers who pop constantly are often leaning into the mic to sound intimate while projecting as if there were a crowd. Pick one. A close, quiet read wants quiet consonants; a big announcer read wants the mic further back and higher up. If you’re new to all this, a coach will spot your particular plosive habit in a session faster than you’ll spot it in a month of listening back; Voice Master Academy trains exactly this kind of mic craft.
© The Voice Realm
The words that carry the most air
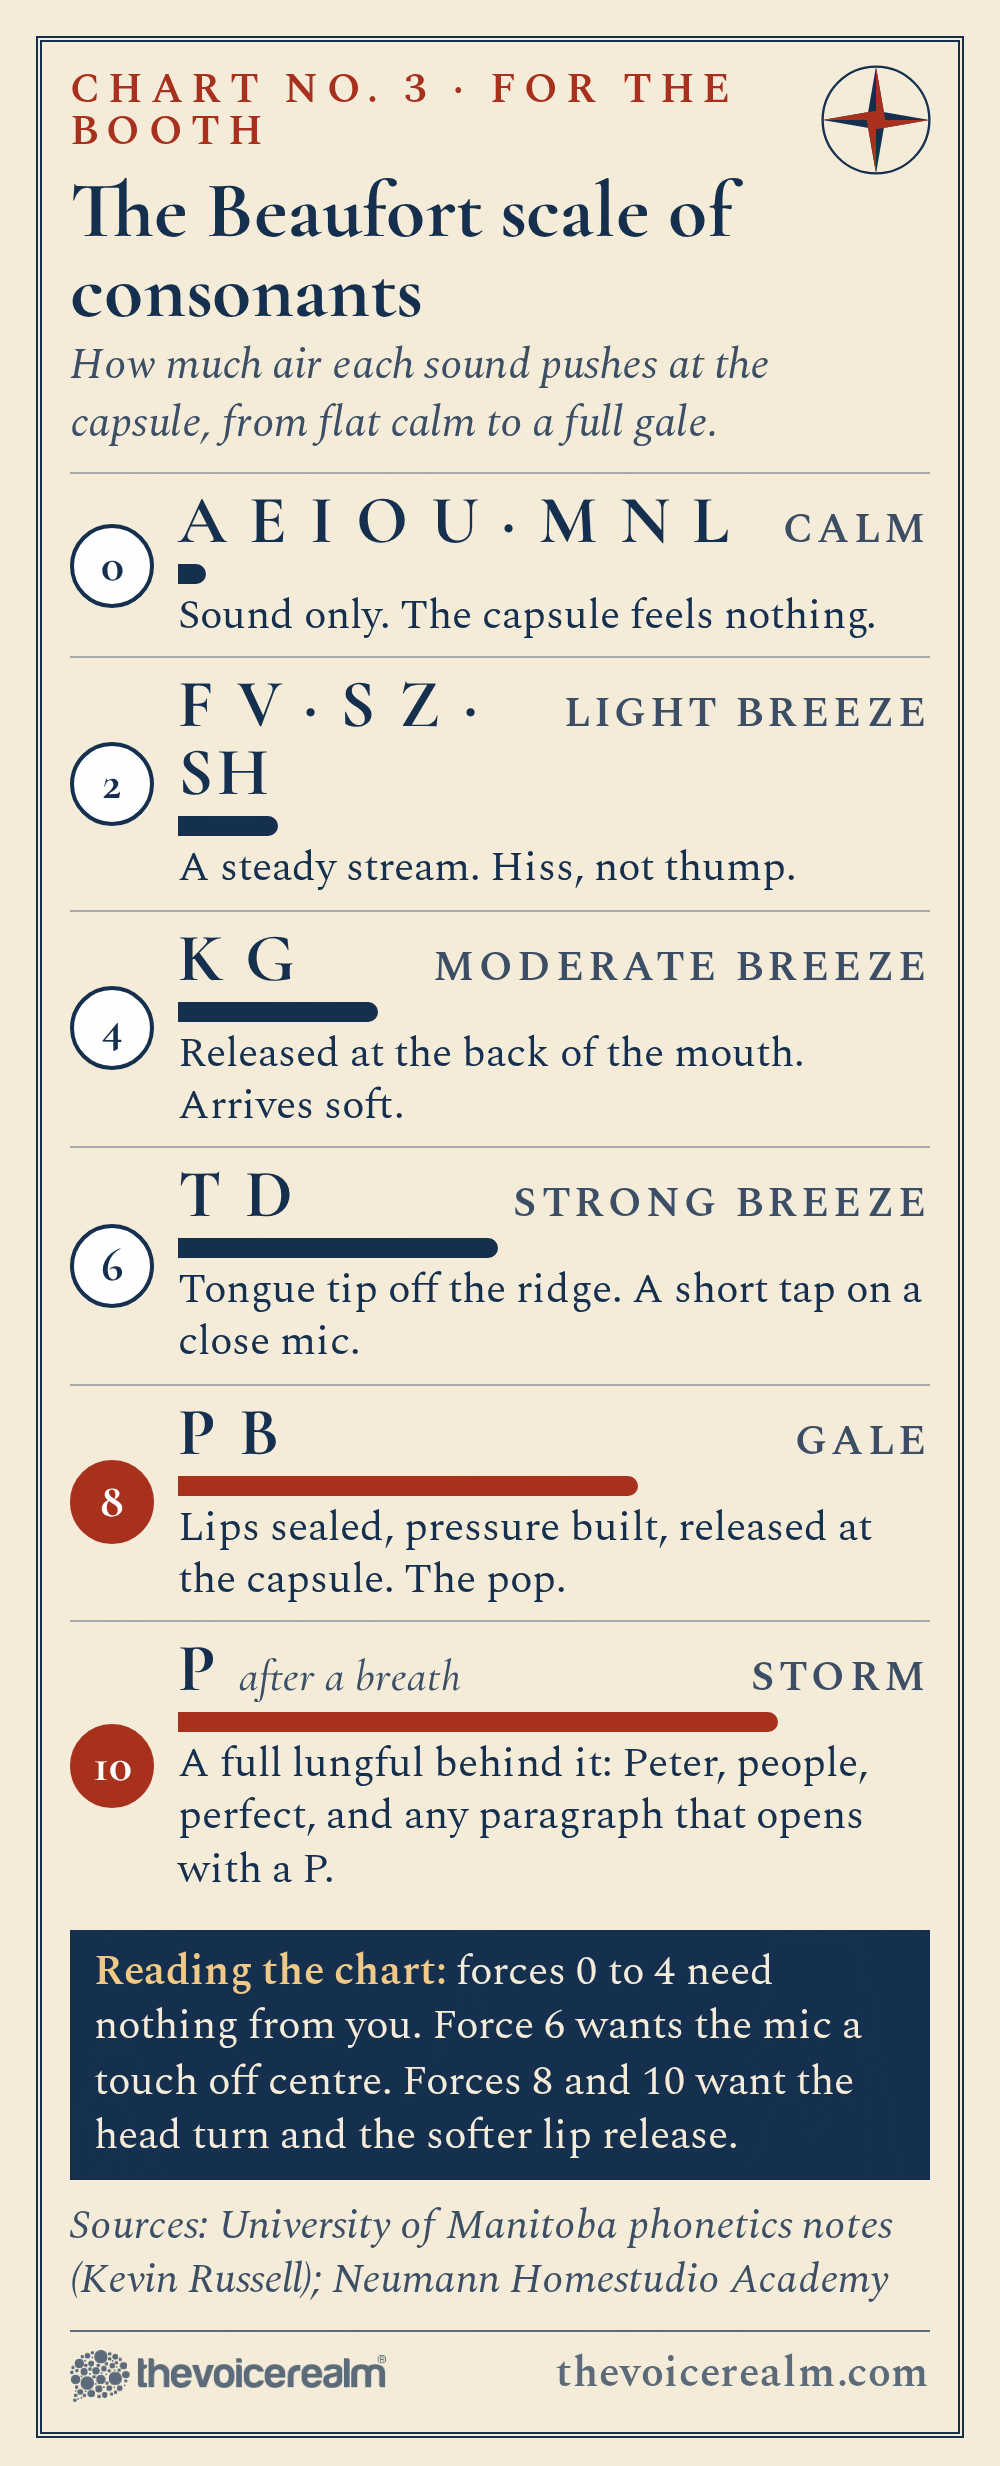
Not every consonant is a problem, and the chart above ranks the usual suspects by how much air they push. The rule behind it, from phonetics, is that English voiceless stops get their puff at the start of a stressed syllable and at the start of a word, so “potato” pops on the P and on the stressed T, while the P in “spot” and the T in “butter” hardly move the air at all. The first P after a breath is the worst of all, because you have a full lungful behind it.
That makes plosives something you can plan for. Read the script once just for its P and B words, the way you’d scan it for tricky names, and mark the ones that start a stressed syllable, especially where a P opens a sentence after a breath, because you’ll have a full lungful behind it. Those are the moments for the head turn and the softened lip release. The marked script is also a kindness to future you: when the client comes back for a pickup, the same word pops in the same place unless you remember why it didn’t the first time. Our piece on marking up a script before you say a word has a notation that works for this.
Fixing a pop you already recorded
“’Pops’ can ruin a recording, because they’re often impossible to fix in the mix. If it’s just a very mild pop sound, you can use a low cut filter to make it less audible. But on heavier pops, the whole signal is distorted, which is something you can’t undo.”
Neumann, Homestudio AcademyPost this quote
Sometimes the take was perfect apart from one thump and re-recording isn’t an option. What you can do depends on how hard the air hit. A mild pop is a low-frequency bump under an otherwise clean word. A high-pass filter, which rolls off everything below a set frequency, will take most of it out. The problem is that if you apply that filter to the whole track you thin the voice. Martinovich warns that “removing all the low end can affect the quality of the voice.” Robjohns describes the more surgical version: “a combination of fader automation and an automated high-pass filter to control the LF thump,” so the filter only bites for the few milliseconds of the pop and the rest of the word keeps its warmth.
Dedicated tools do the same job automatically. Martinovich describes iZotope’s de-plosive module as something that “helps to smooth distortion, and also minimizes the low frequency bump without affecting the voice,” and most modern editors have an equivalent. A spectral editor lets you literally paint out the low-frequency blob under the consonant. The simplest fix of all, if the pop sits on the first letter of a word, is to cut a few milliseconds off the front of it and crossfade; a P with its burst clipped off still reads as a P.
What you can’t fix is a pop that drove the capsule or the preamp into distortion. Then the whole word is damaged, low end and all, and the honest answer is a retake. That’s why every expert quoted here says the same thing in different words: deal with plosives at the microphone, where they cost nothing, rather than in the edit, where they cost time and sometimes the take. It’s the same logic we applied to sibilance: prevention sounds better than the cure.
A good check before any session takes ten seconds. Hold a hand between the screen and the mic to confirm the gap. Say “Peter Piper picked a peck” at the level you’ll use for the read and watch the meter. If it jumps on the Ps, move the mic up and to the side a little and say it again. When the Ps land like every other consonant, you’re set, and you can forget about plosives and get on with the acting.
Sources: Neumann Homestudio Academy, “How to Protect Your Microphone Against Pops”; Hugh Robjohns, Sound On Sound, “Q. How can I deal with plosives?” and “Q. Is a pop shield better than a wind shield?”; Audrey Martinovich, iZotope, “How to remove plosives from a voice recording”; Kevin Russell, University of Manitoba, “Aspiration”.
Ready to get booked?
See the jobs open right nowAbout Sarah Robbins
Sarah Robbins writes for The Voice Realm about finding voice over work, home studios, casting and the business side of voice acting.